Tips for Baking with Yeast
This post may contain affiliate links that won’t change your price but will share some commission.
Fear not the yeast! I’m giving all the Tips for Baking with Yeast that you need to successful yeast bread! Don’t let baking with yeast confuse or scare you, I’ve got simple guidelines to follow so you can enjoy homemade yeast bread and cinnamon rolls!

Tips for Baking with Yeast
Ok, let’s be real, you saved a recipe then saw that it has a yeast dough and you were disappointed. Have you made bread or cinnamon rolls with yeast before? Maybe, like me, you’ve tried a yeast bread before without success. I did. I tried several bread and roll recipes before I was successful using yeast. Because I really like cinnamon rolls so much, I was determined to learn to make them.
This is the somewhat boring part, but let’s learn just a little about yeast. There are two types of yeast Active Dry Yeast (which is what you’ll use in most of my recipes) and Instant Yeast.

What is the difference between Active Dry Yeast and Instant Yeast?
Active dry yeast has a larger granule and needs to be dissolved in water before using. It’s a living organism that’s dormant until dissolved in a small amount of lukewarm warm water (about 110° to 120°F). It’s then added to the rest of the ingredients, where it will cause the dough to rise.
Instant yeast, also marketed as Rapid Rise Yeast or Quick Rise Yeast, has a more fine texture and can be mixed right into dry ingredients. Because it is milled into finer particles, it dissolves faster and activates quickly. Instant yeast doesn’t have to be proofed, or dissolved in water to activate, and is added directly to dry ingredients with the same results.

Because Instant Yeast is a relatively new product a lot of older, traditional bread recipes call for Active Dry Yeast. It is what I almost always use as well.
One 1/4 ounce packet, pictured above, equals 2 and 1/4 teaspoon of Active Dry Yeast. This amount will rise up to 4 cups of flour.
Tips for Baking with Yeast
Yeast success basically comes down to 3 things:
- Correct water temperature
- Fresh (live) yeast
- Time to activate

Let’s talk more about these three things.
Correct Water Temperature
Use a thermometer to measure water temperature accurately. Any thermometer will work as long as it measures accurately up to 130ºF or 140ºF.
What is the correct temperature for water to activate yeast? The trick is, the water has to be warm enough to activate the yeast, but not so hot that it kills it. Don’t rely on touch. Use a good thermometer to be accurate. For active dry yeast, the water temperature should be between 105 and 110°F for proofing. For rapid rise or instant yeast that will be mixed with flour rather than added directly to the water, the suggested water temperature of 120 to 130°F.
I almost always use active dry yeast, and from trial and error, I find the best temperature to be between 115º and 120ºF.
Fresh yeast
So your water is at the perfect temperature and there is still no action from the yeast. Is it still active? Is it fresh?
Always check the date, if it’s close the the expiration date I would test it to see if it’s still active. To test whether it’s still active, dissolve 1 teaspoon sugar in 1/2 cup warm water (115° to 120ºF). Sprinkle in with 1 packet (2-1/4 teaspoons) of active dry yeast and stir. Allow it to stand for 10 minutes. If it gets bubbly and foamy, it is still active, and you can continue with your recipe.
I always get the 4-ounce jar of Active Dry Yeast and store it in the refrigerator. Furthermore, I recommend always storing yeast, whether you use the jar or the packages in the refrigerator.
You should also test yeast if you are at all concerned about it. It’s better to test it than waste all the ingredients if it is bad.
Time to activate
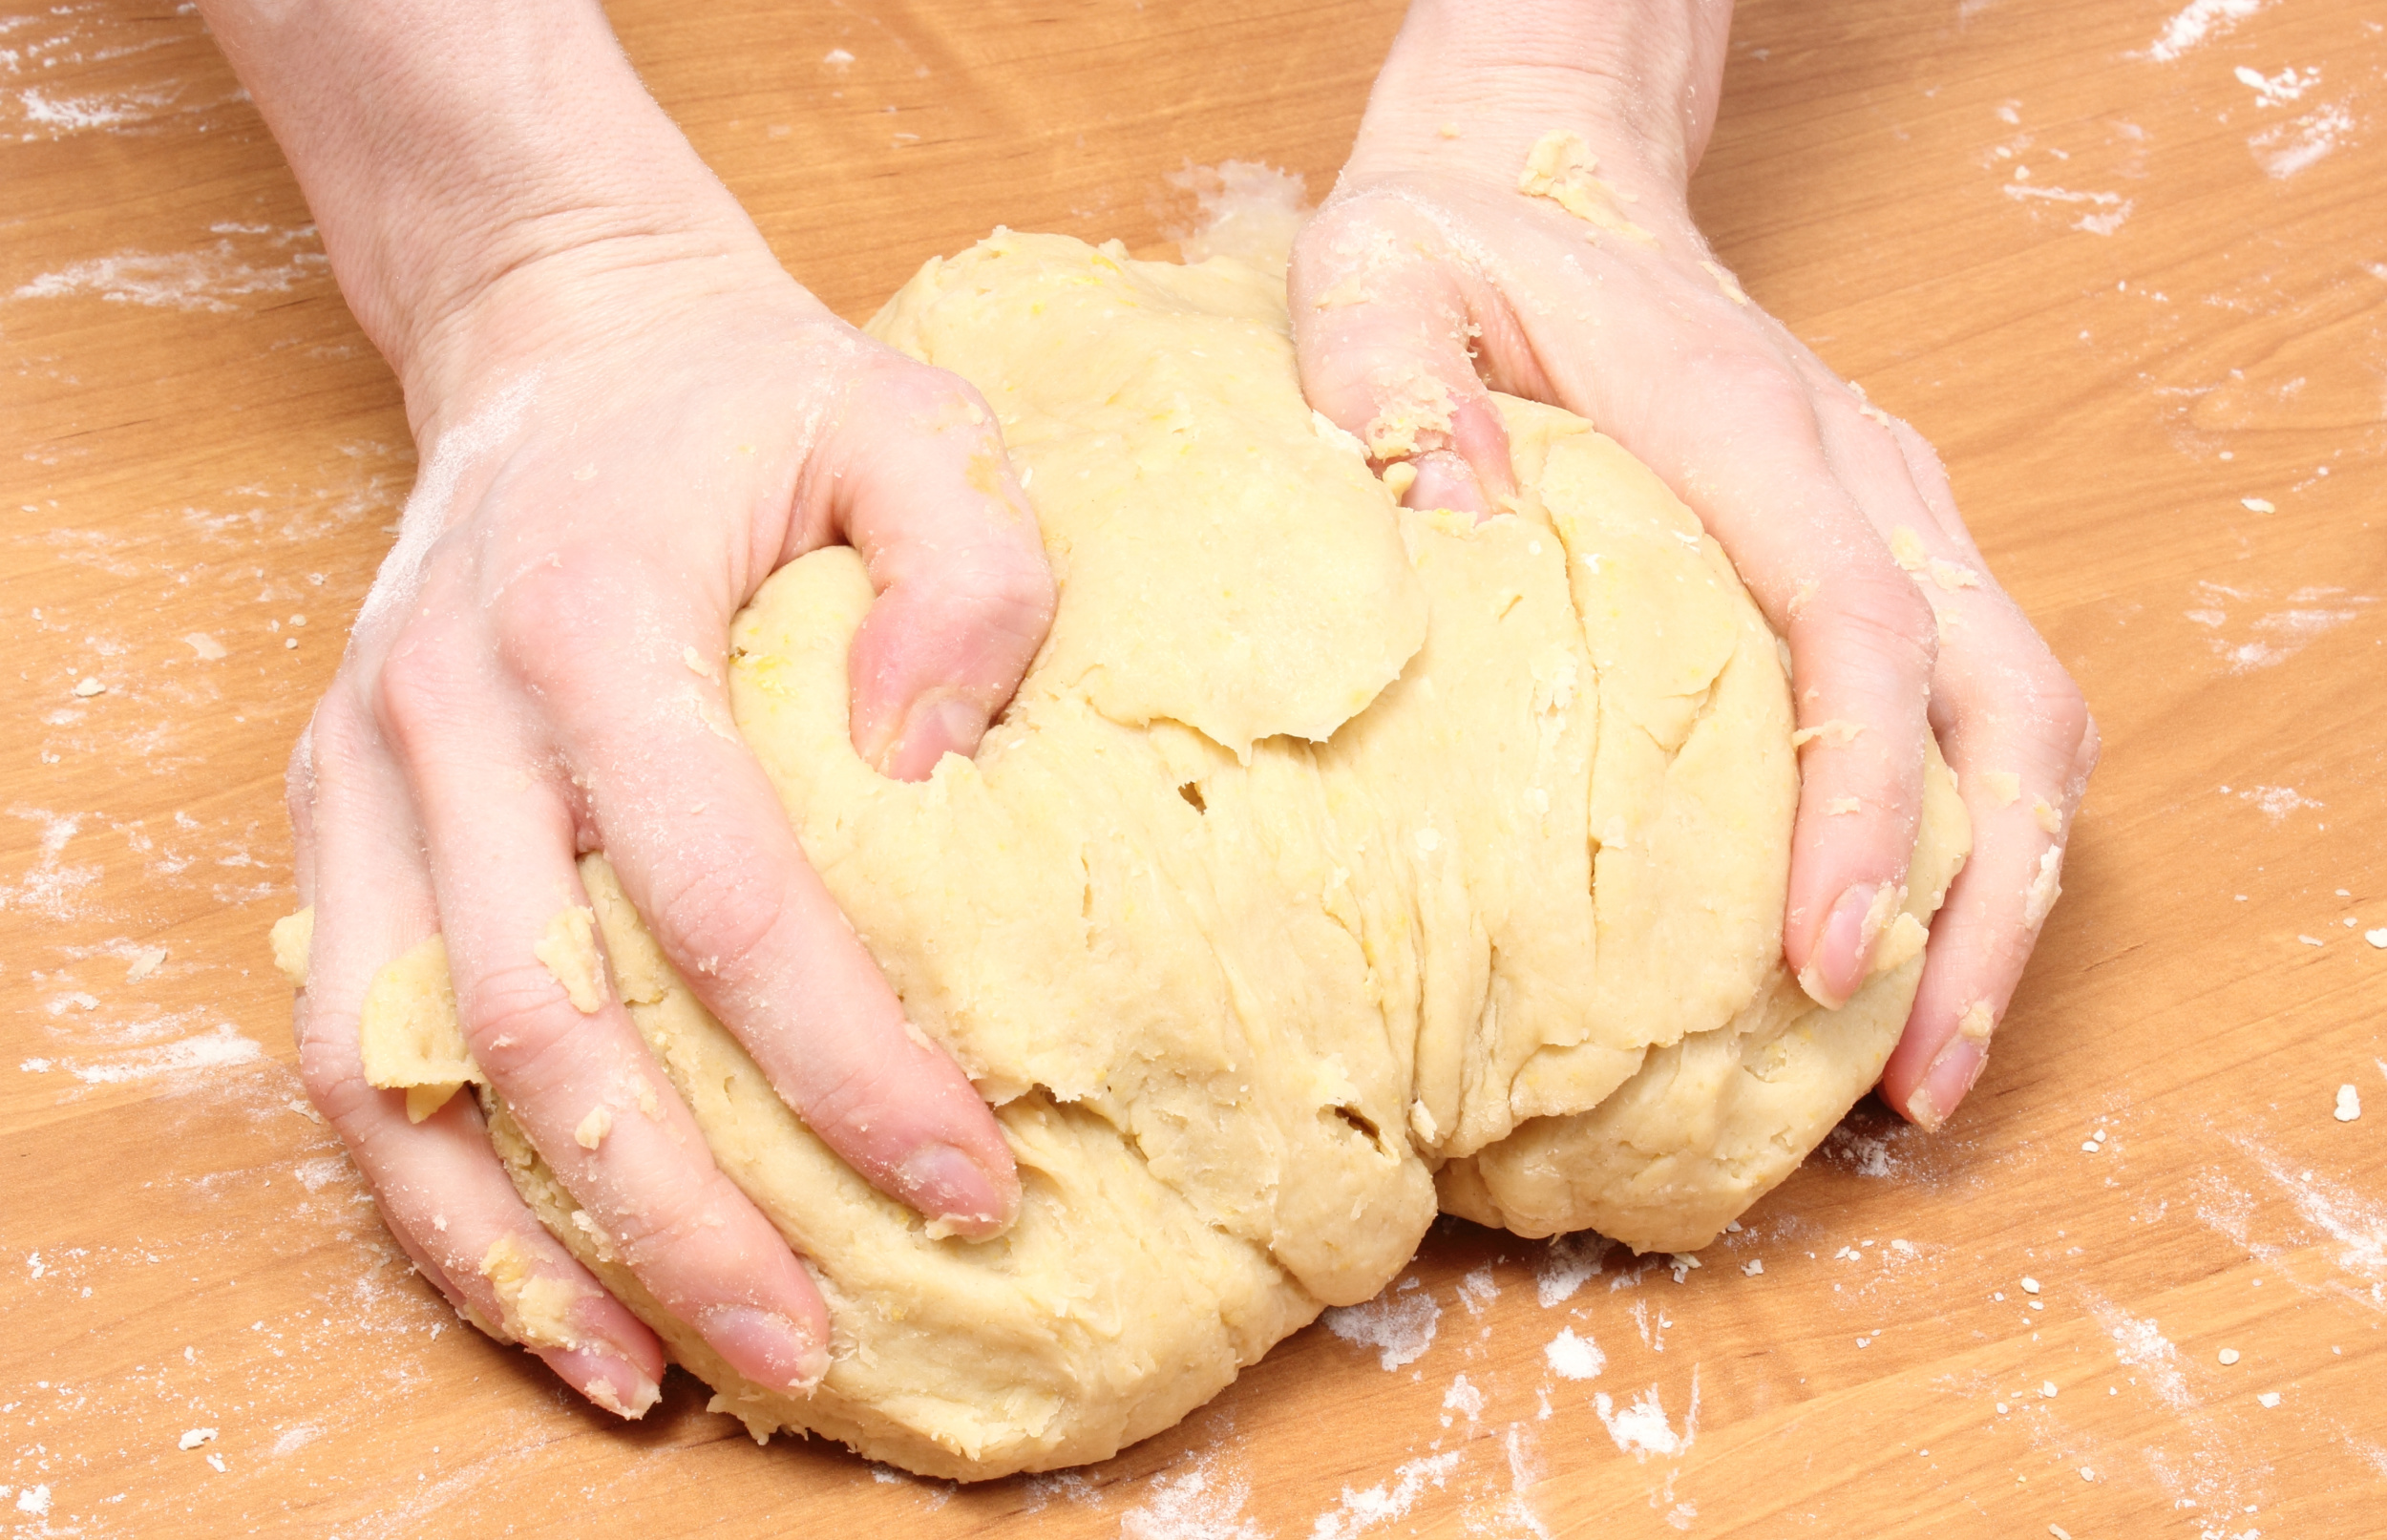
When making yeast bread, the kneaded dough must have time to rise. During rising, the yeast ferments or eats the sugar and develops the dough. Rising improves the flavor and texture of the bread. This is the hardest step for me. You cannot rush yeast rising. It’s pertinent that you give it time to rise.
Many factors, including the recipe, room temperature, and humidity, will determine how long it takes for your dough to rise. “Ripe” is when yeast dough has risen enough. Yeast dough is “ripe” when it has doubled in size.
The ripe test determines if the dough is ready to be punched down and shaped. Gently stick two fingers in the risen dough up to the second knuckle and then take them out. If the indentations remain the dough is “ripe” and ready for punch down. If not, cover and let the dough rise longer. Repeat test.
Whether you’re making savory bread or sweet bread, the basic yeast tips and rising methods are the same.
Tips for Baking with Yeast: Suggested Rising Methods
- Oven Rising. The oven is the ideal place for dough to sit and rise. Heat the oven at the lowest setting for one minute then turn it off. The oven temperature should not exceed 90°F. (For gas ovens with a pilot light, check the temperature. You may not need to turn on the oven at all.) Place a bowl of warm water for moisture in the oven. Then place the covered bowl of dough in the oven and close the door. Wait for it to rise.
- Microwave Rising. You may also use the microwave for the first rise of dough. Place one cup of water in a glass and heat for 2 minutes or until hot. This will keep the dough soft and moist. Place the covered bowl of dough in the microwave and close the door. Wait for it to rise.
- Warming Drawer Rising. Fill one measuring cup with very hot water and place it in the warming drawer. Turn the knob to low or ‘proof’. Place the covered bowl of dough in the warming drawer and close the door. Wait for the dough to rise.
More Tips for Baking with Yeast
- Why does the recipe state 4.5 to 5 cups of flour? In warmer or humid months, it may take more flour. You always want the dough to be somewhat firm and ‘dry’ where it is workable and doesn’t stick to your hands easily.
- Do not use “Lite” or tub margarine, where water is listed as the first ingredient. They will not work. The bread will over rise.
- I like to store my yeast in the refrigerator for optimum freshness.
- Using milk instead of water will make a softer crust.
- Olive oil will prevent the dough from drying out.
- One 1/4 ounce packet equals 2 and 1/4 teaspoons of Active Dry Yeast.
Can I freeze yeast dough?
Yes. Read all the information about freezing yeast dough in this article I wrote: Freezing yeast bread dough.