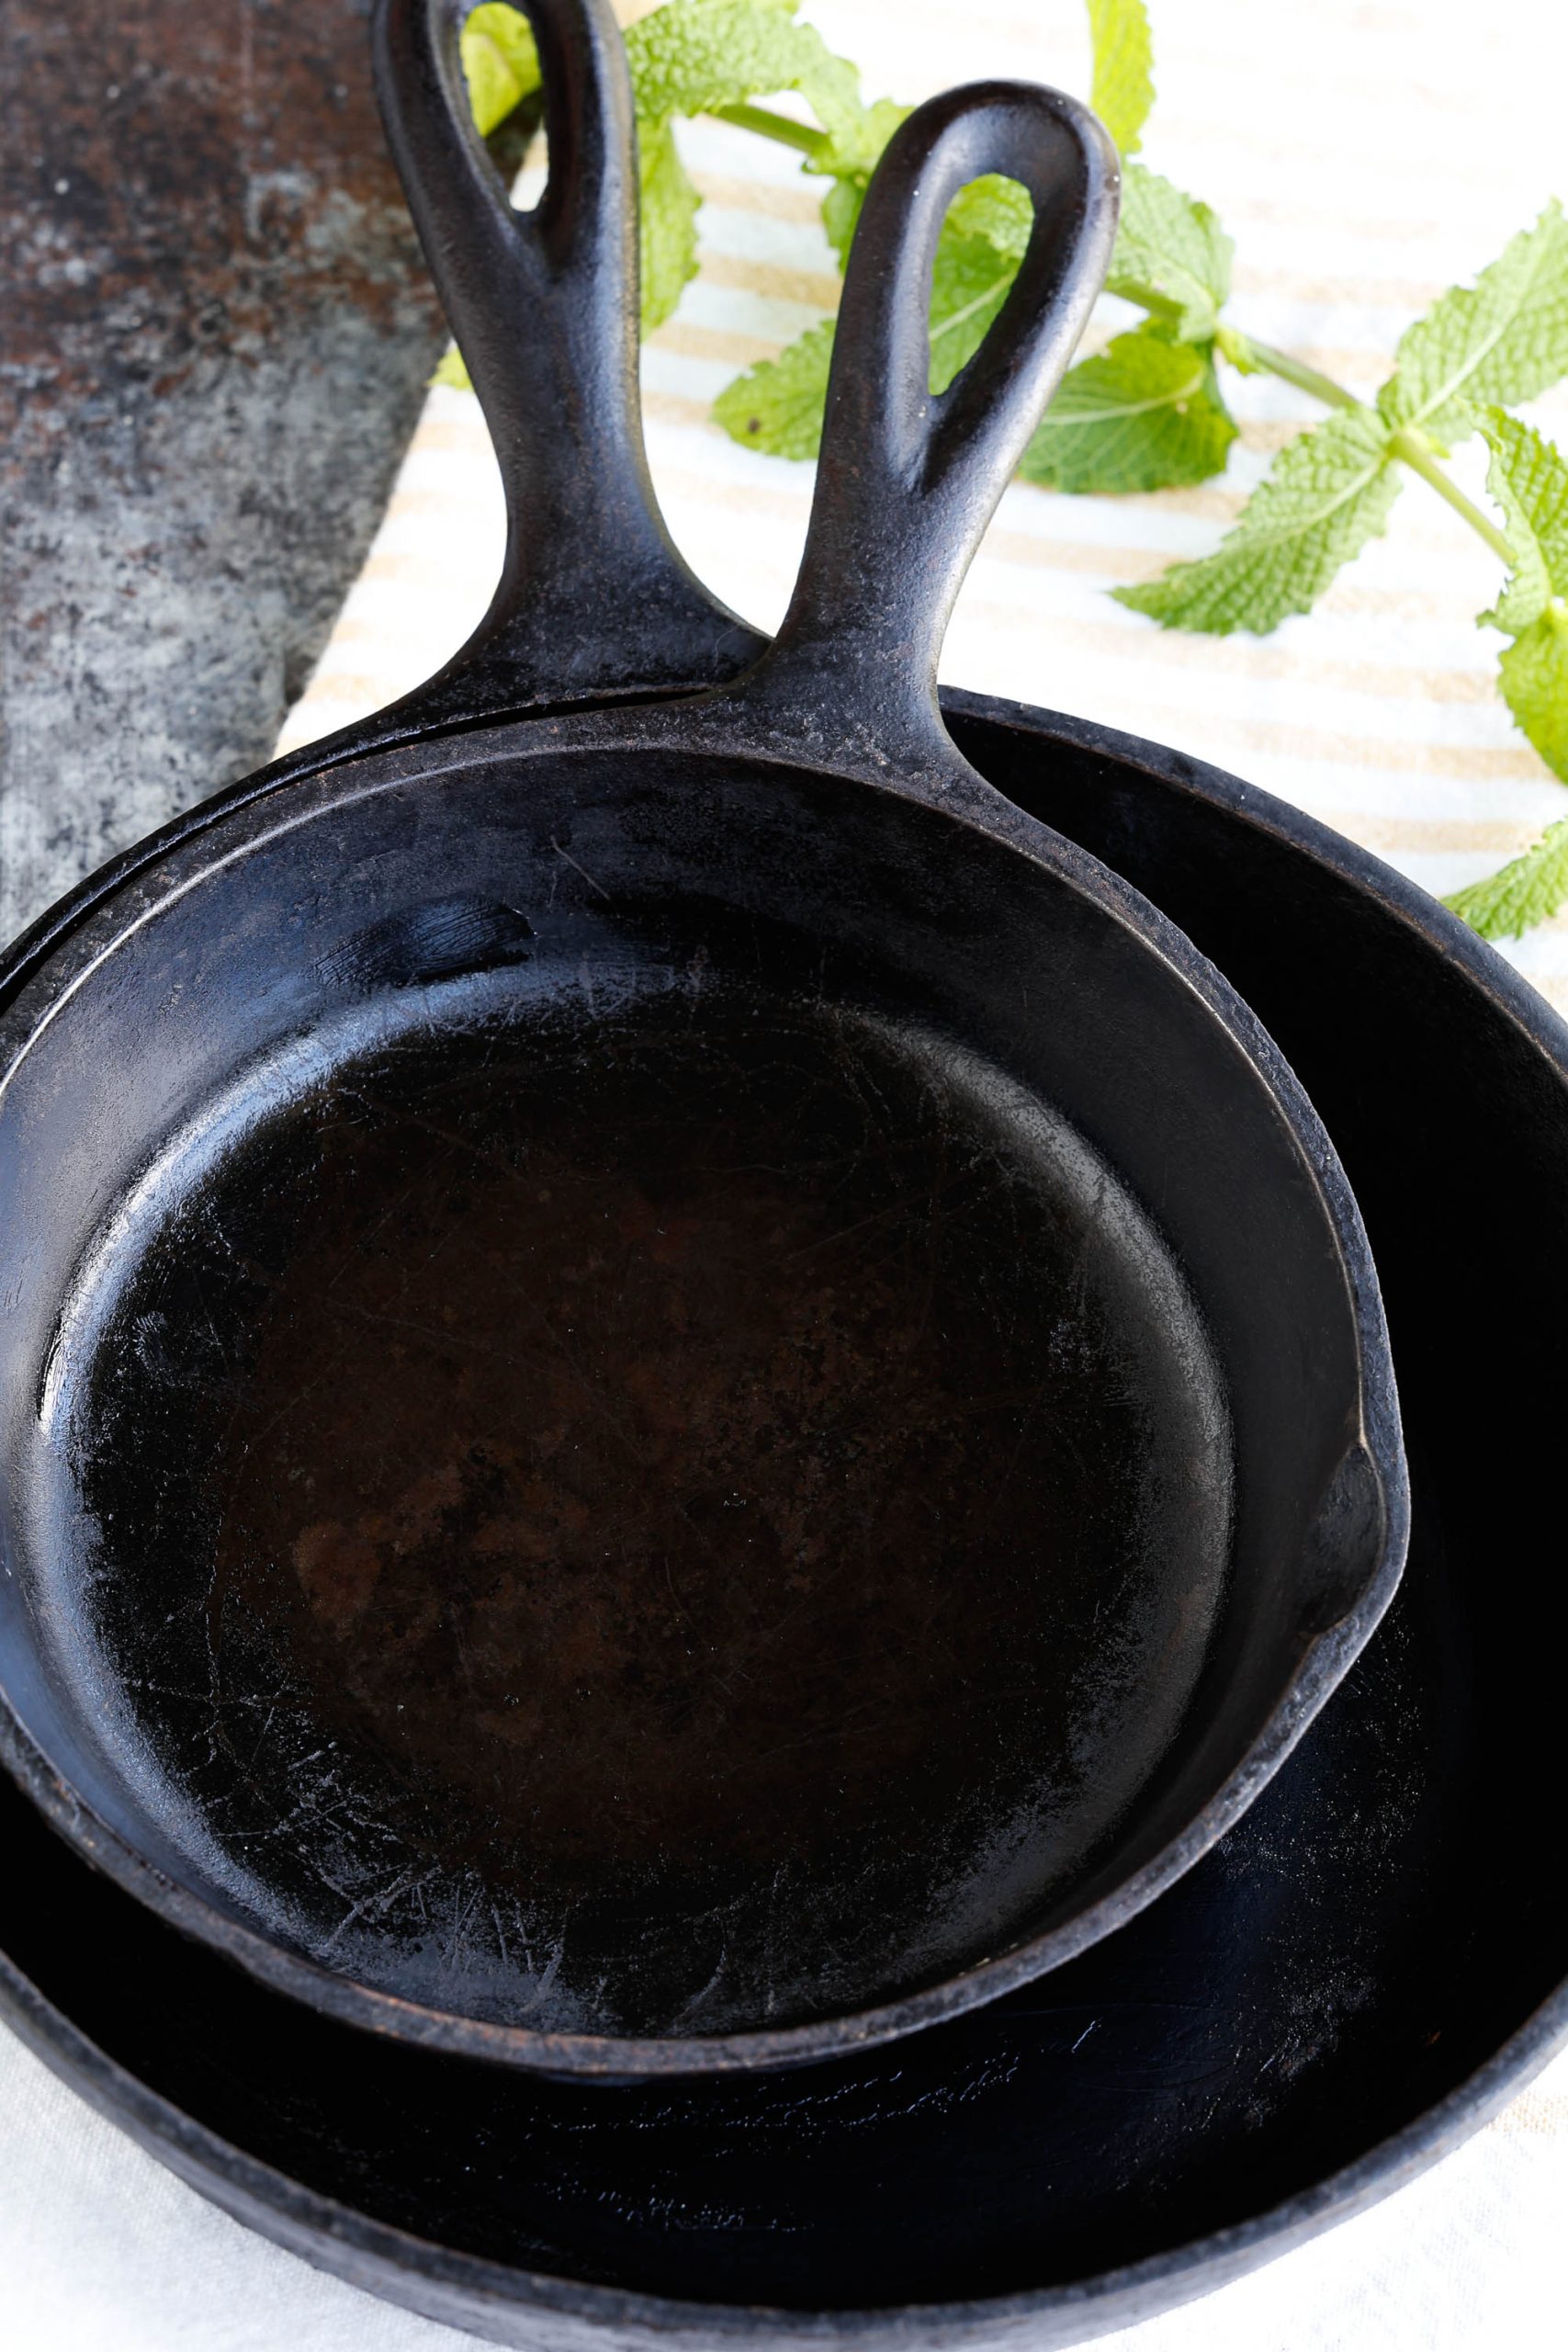
How to season a cast iron skillet
This post may contain affiliate links that won’t change your price but will share some commission.
How to season a cast iron skillet: A guide for lazy cooks. Do you have no time or energy for a complicated seasoning process? No problem! Our guide will teach you how to season a cast iron skillet easily and still get a flawless finish.
Benefits of a properly seasoned cast iron skillet
Caring for a cast iron skillet isn’t like looking after other cookware. First, you must work with it a little and build a nice seasoning. Even so, the process is straightforward, and once you get the perfect finish, it’s undoubtedly worth the effort.
The term seasoning means more than flavorful spices. In lay terms, seasoning refers to baking a thin layer of oil into the pan.
More technically, this process is called polymerization, which happens by heating an oil past its smoking point, thereby carbonizing it and effectively bonding the oil to the pan. This bond fills the otherwise porous surface and leaves you with a slick cooking surface.
The benefits of a well-seasoned pan include:
- Nonstick surface: The primary goal of seasoning is to create a naturally nonstick coating that allows for quick-release cooking and easy cleanup after.
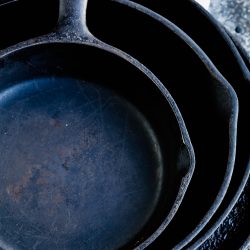
- Longevity: Protect a skillet from damaging rust and corrosion with a good seal of seasoning, and you can pass the same cooking tool down through generations.
- Beautiful appearance: Cast iron’s signature dark black sheen, called patina, is largely thanks to the seasoning. Otherwise, the skillet would be dark silver and more closely resemble pewter.
Cast iron skillet seasoning 101: What you need to know
Sometimes the welcome benefits of cast iron cooking aren’t enough to dispel the misconception that the seasoning process is complicated, time consuming and difficult.
The truth is that you can get great results in a few simple steps. Call it lazy, simple, or just plain practical, but you don’t need to spend hours scrubbing and applying layer after layer of oil every time you use the pan.
The basic approach starts with a clean pan, adds an even layer of oil, heats the two together and finally lets the pan cool down naturally.
How to season a cast iron skillet without breaking a sweat
Here’s our step-by-step guide to seasoning a cast iron skillet.
- Clean: Always start with a clean skillet.
- Dry: Dry the skillet completely. Wipe it dry with a kitchen towel, then heat it over medium heat on the stovetop until all the moisture evaporates.
- Oil: Pour one teaspoon of oil into the skillet and rub thoroughly all over with a folded paper towel. Carefully flip the pan over, add one teaspoon of oil on the underside and repeat the process, rubbing all over, including the handle. Continue buffing until the pan no longer appears greasy.
- Bake: Preheat the oven to 450 F. Arrange a baking sheet on the center rack to catch any drips of oil that might come off. Place the skillet upside down and bake for 45 minutes to one hour.
- Cool: Turn off the oven and let the pan cool to room temperature. You can take the pan out if you need to or leave it to sit and cool inside the oven.
Would you like to save this?
Repeat when necessary
This is a comprehensive process designed for maximum effect. Following these steps is particularly important if you’re working with an old pan or recently stripped the pan and are building up seasoning from scratch.
In that case, repeat steps two through five multiple times until you see a solid layer of protection. Michelle Price from Honest and Truly shares a helpful tip, reminding us not to feel rushed. She says, “Depending on how much time I have, I may do this over the course of a few days. You don’t have to do it immediately.” So, take your time and work when it is most convenient.
Why not plan ahead and season the pan while the oven preheats before baking a family favorite like chicken Ranch casserole or Jalapeno Popper Dip? It’s very handy to take advantage of whatever time you’ve already committed to the kitchen and double up the activity with a seasoning session as well.
The essential tools
With a few basic tools, you’ll be seasoning in no time.
- Oil: Avoid
butter and unrefined coconut oil. Otherwise, pick your favorite with a neutral flavor. Some prefer plant sources like flaxseed or vegetable oil, while others opt for rendered tallow or lard. - Paper towels: Spread the oil around with a folded paper towel. Rub thoroughly over both the inside and outside of the pan.
- Oven mitts: Protect your hands with oven mitts while handling a hot skillet.
- Baking sheet: Place a sheet pan under the skillet while it bakes in the oven and catch any excess oil that drips off.

Dos and don’ts
Ongoing maintenance is even easier once the foundational layer of seasoning sets. Here are some closing tips for cleaning your cast iron skillet and preserving it.
- Wash and wipe the pan dry shortly after cooking. Heat over medium heat before storing so you know all water has evaporated off.
- Store in a dry place to avoid rust.
- Use wooden utensils and cast iron cleaning tools to avoid scratching the seasoning.
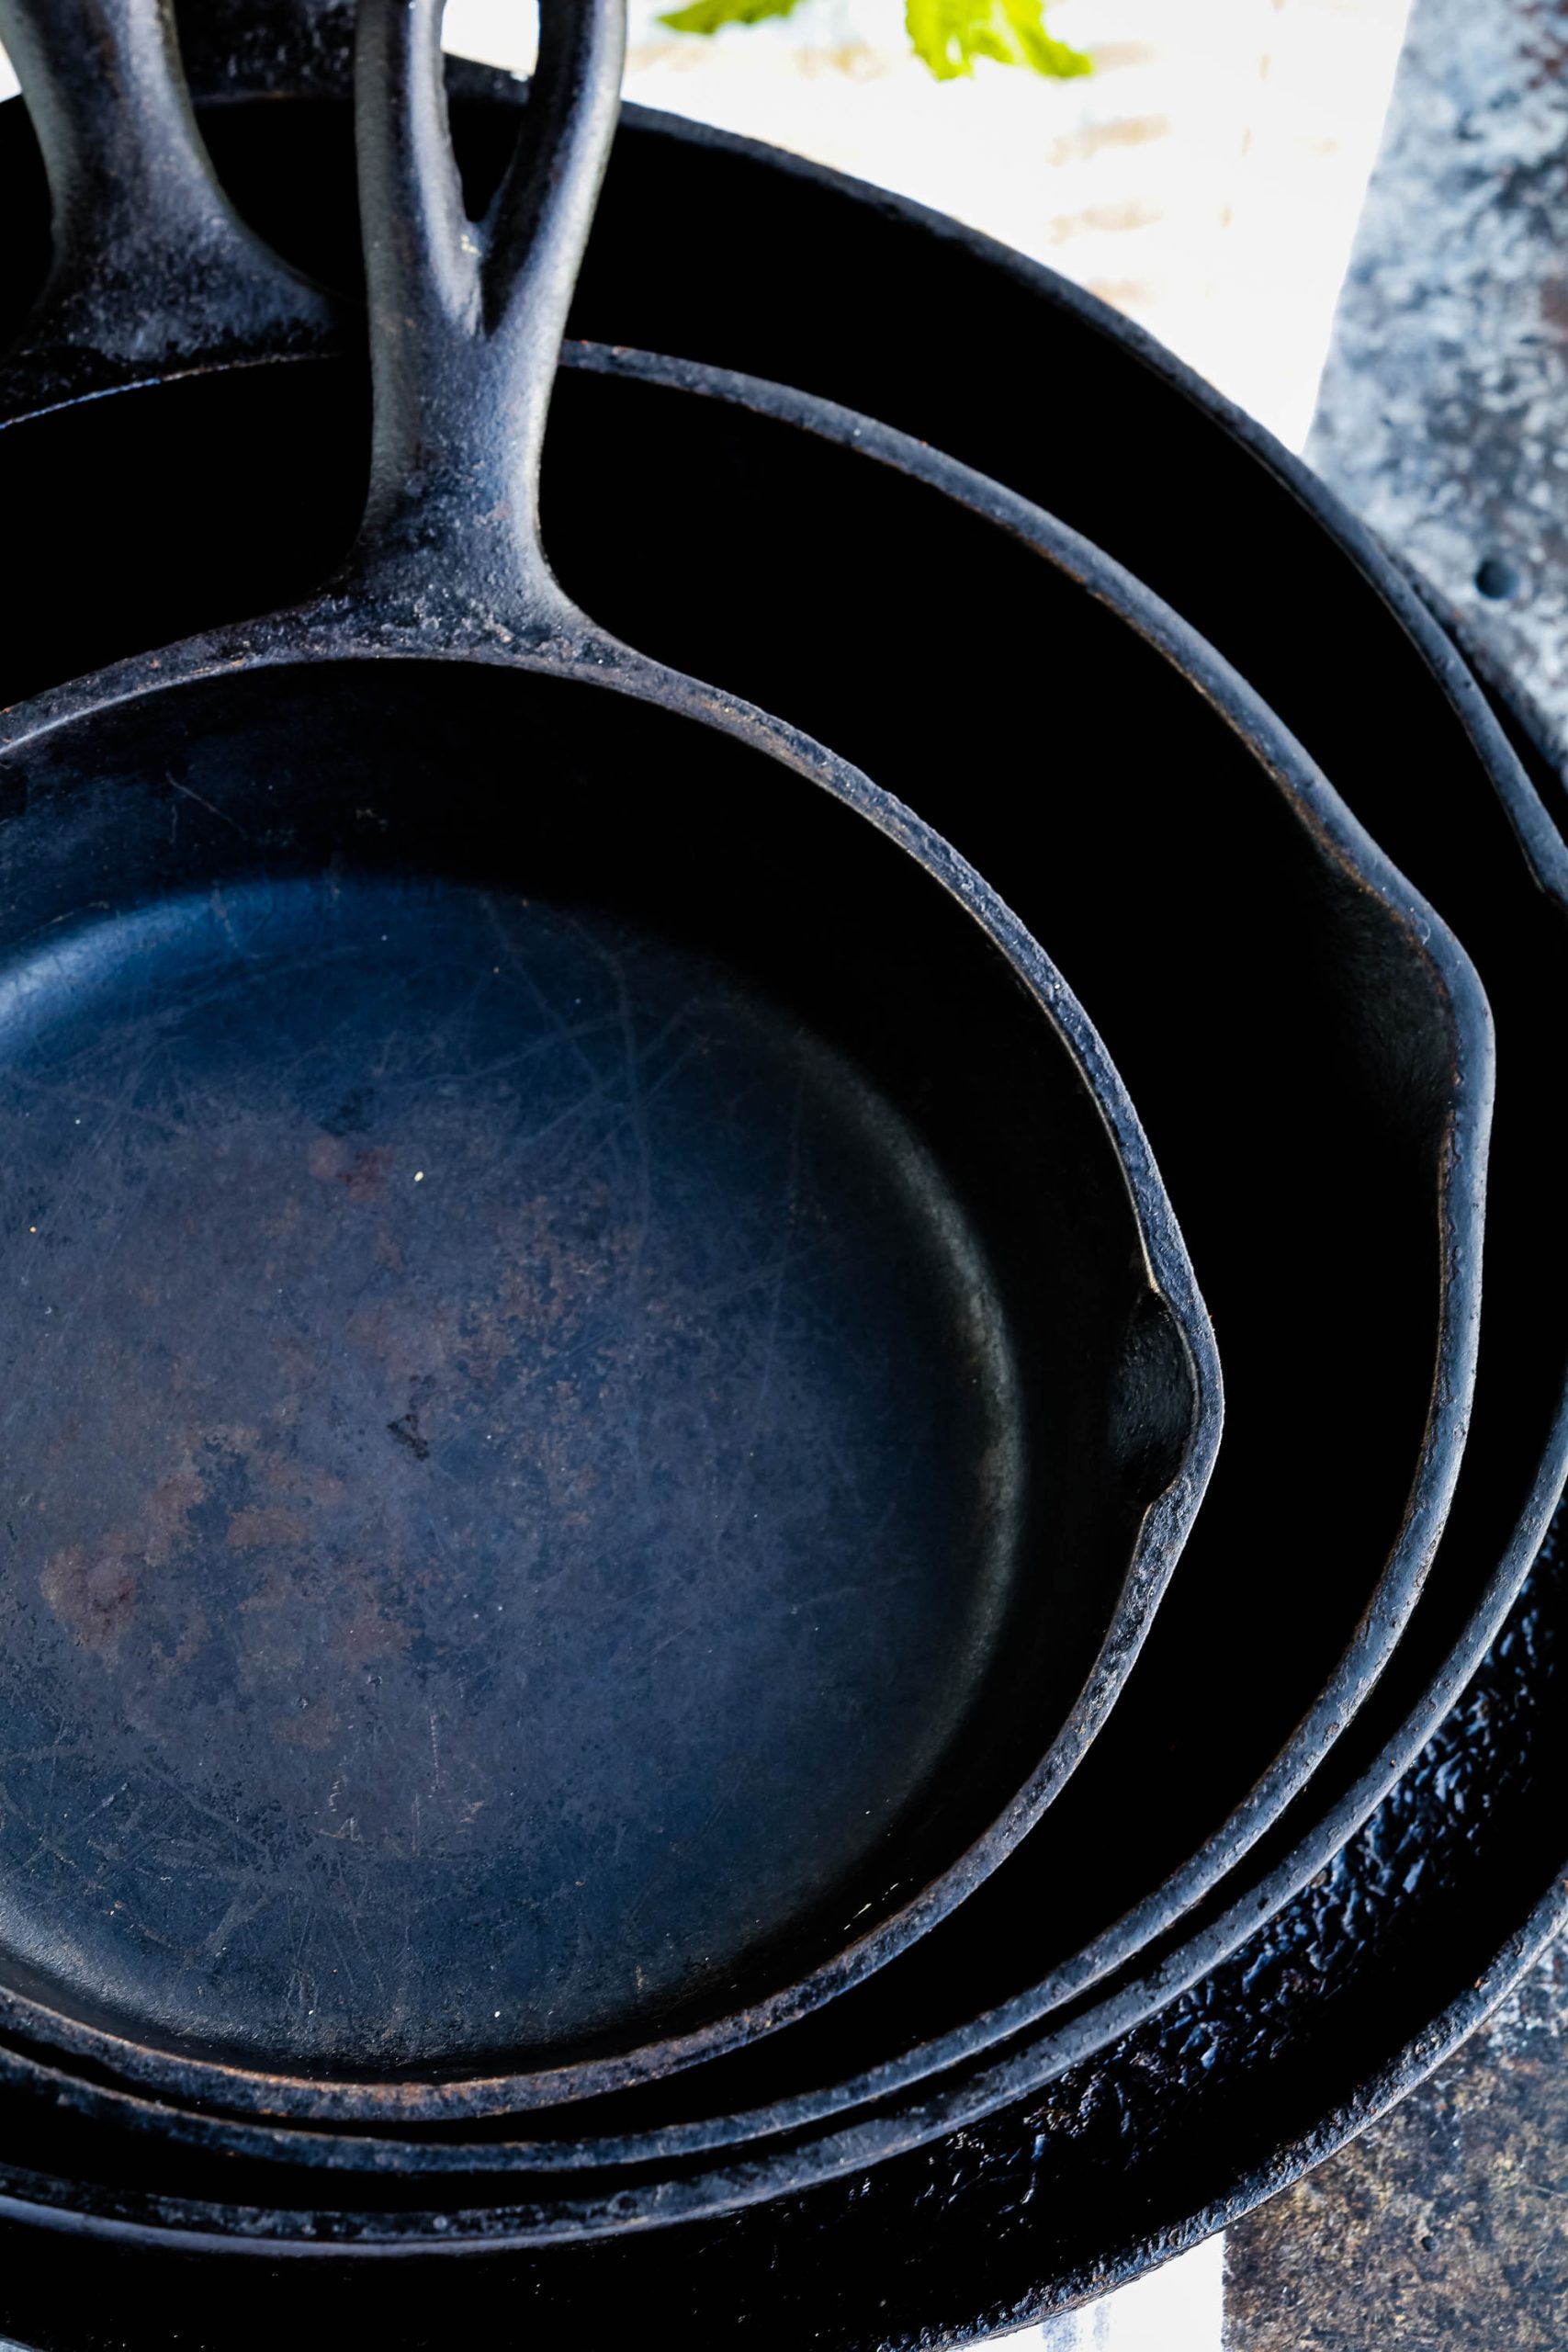
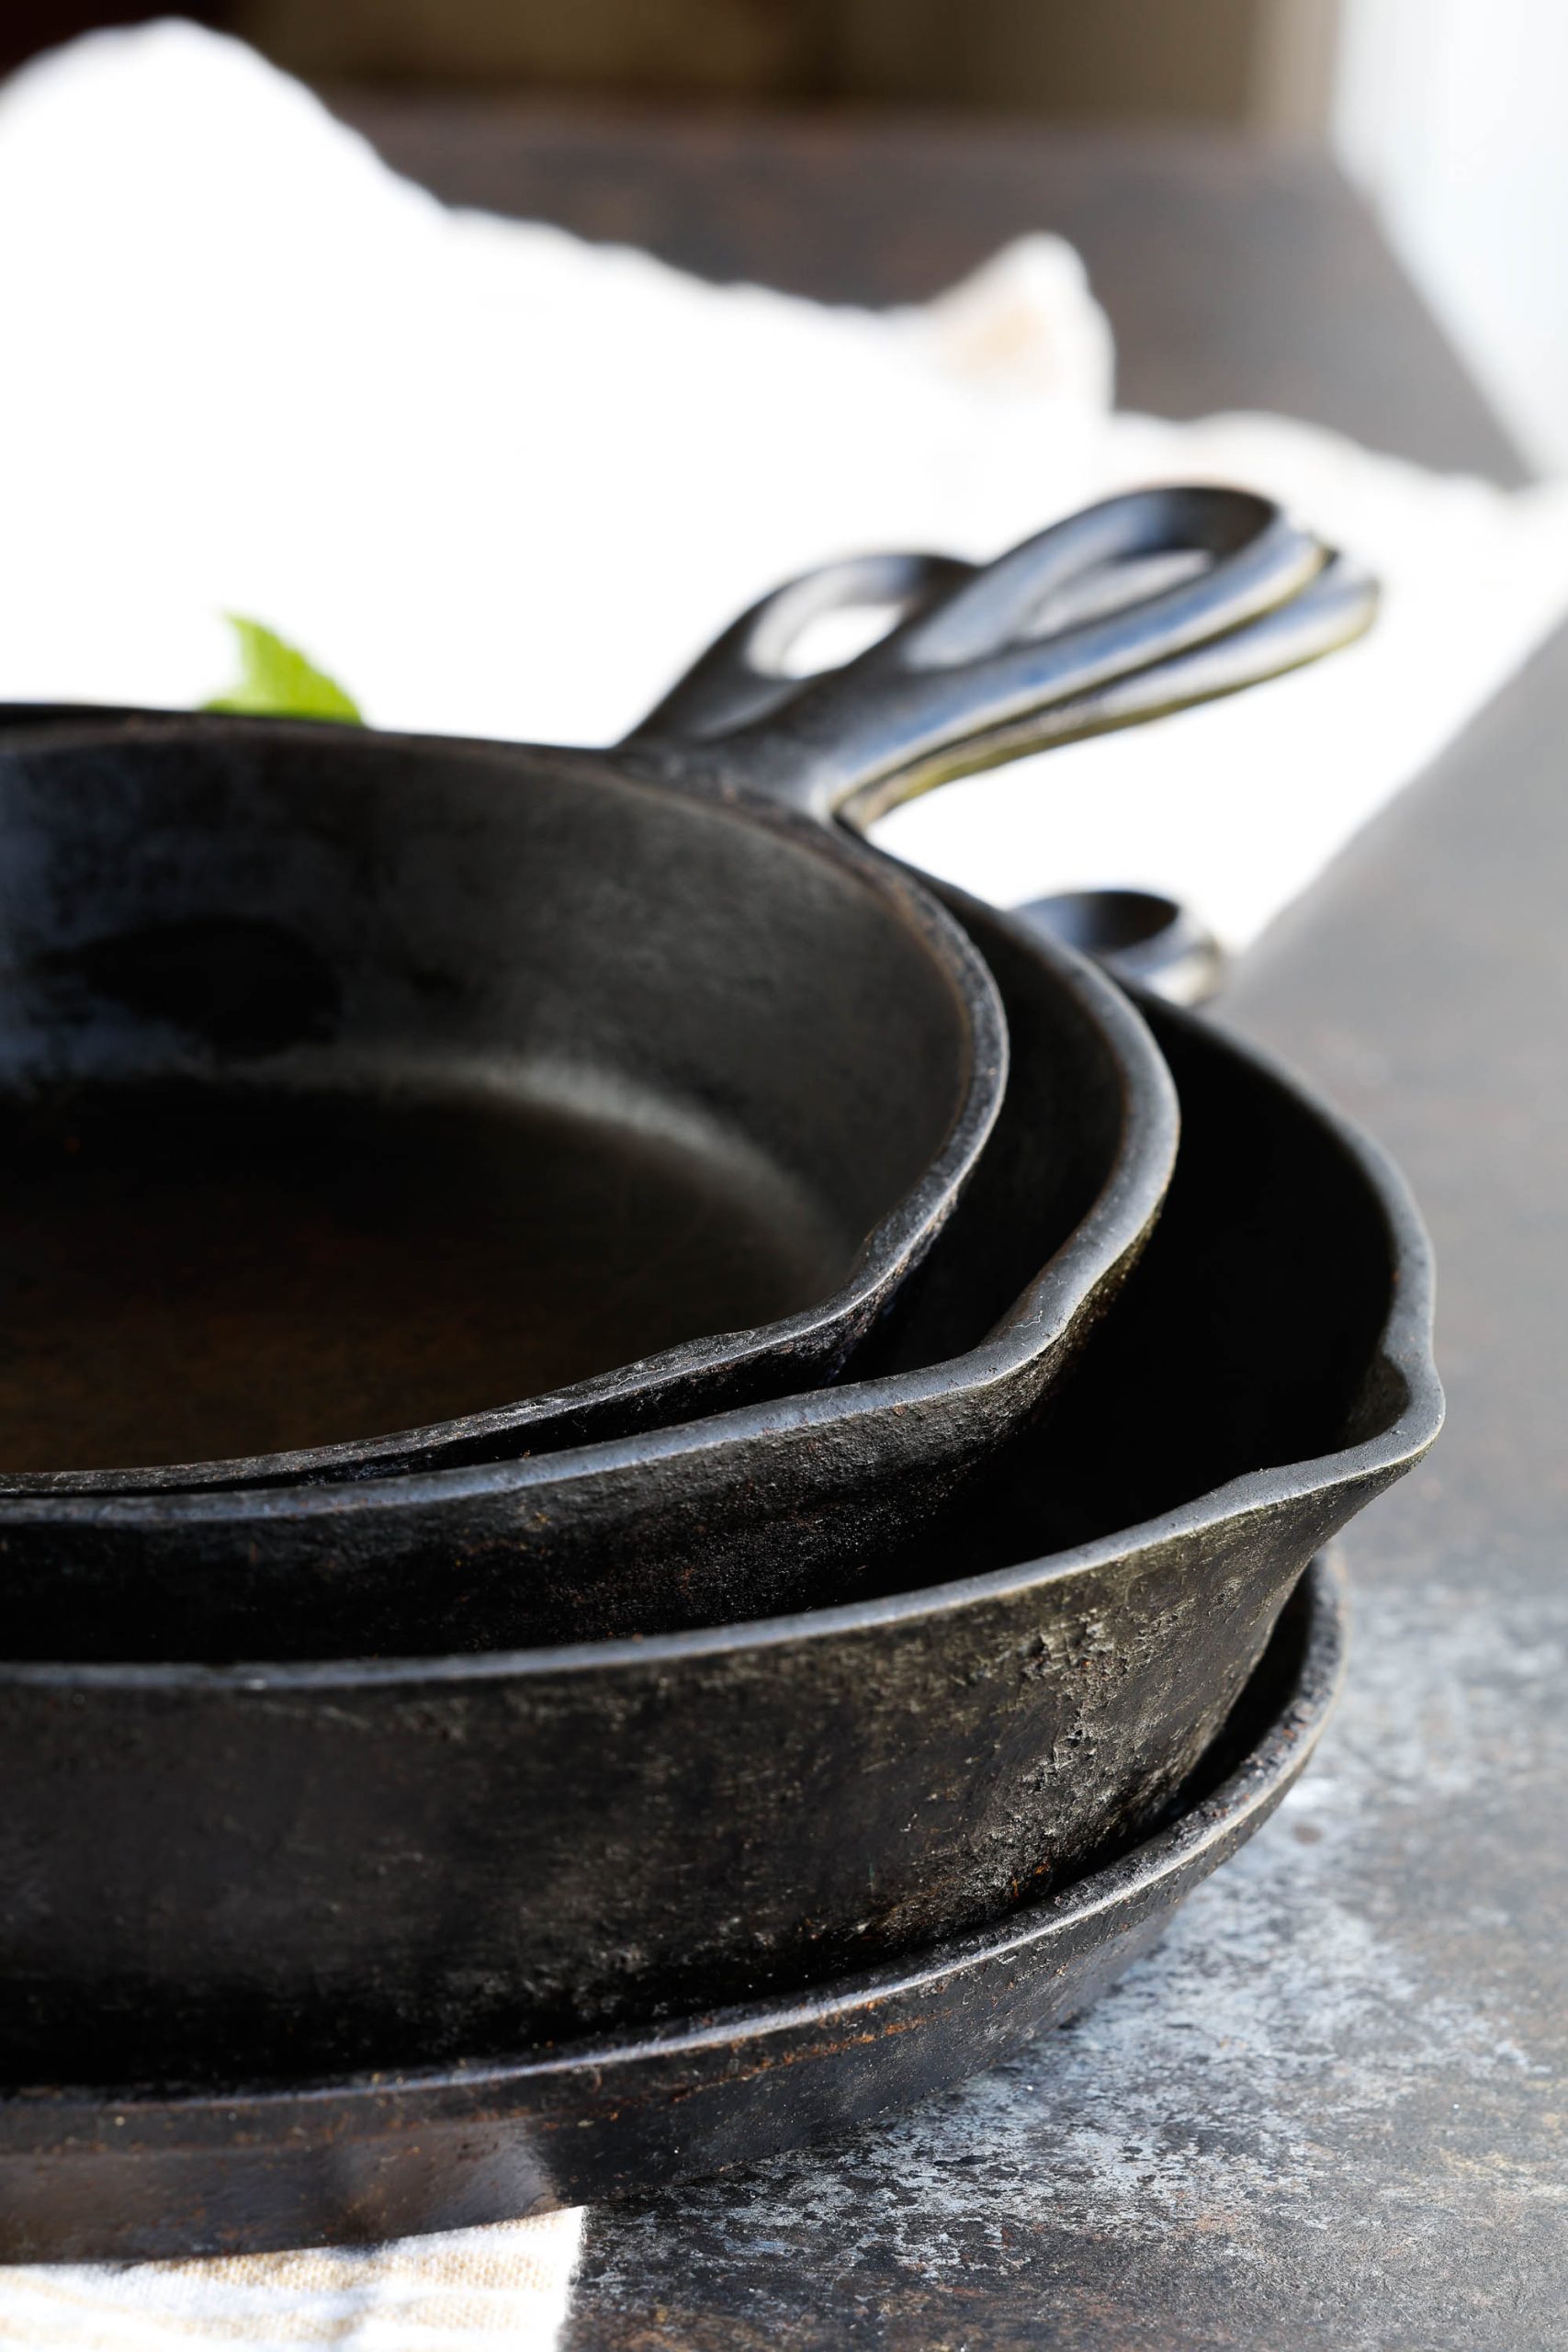
- Place a paper towel between cast iron when stacking, also to avoid scratching.
- Re-season with our step-by-step instructions anytime the skillet looks dull or food begins sticking to the bottom or sides.
Kita Roberts of Girl Carnivore encourages a simple approach to day-to-day maintenance, “We simply wipe out a well-seasoned cast iron pan with a towel when it’s cooled and brush with a light coat of oil after every three or four uses.”
Don’t let cast iron skillet seasoning scare you
There you have it. By following these simple tips, you can be a happy owner of a rust-free cast iron skillet with a beautiful nonstick surface.
With a bit of tender loving care, your skillet can be a cherished kitchen tool for everything from the best beef and broccoli stir-fry to baking, searing and pan-frying.
How to season a cast iron skillet
Items in blue & underlined below can be clicked for more detail or to purchase.
Equipment


Ingredients
- 1 tablespoon Crisco shortening
- 1 roll paper towels
Instructions
Clean
- Always start with a clean skillet.
Dry
- Dry the skillet completely. Wipe it dry with a kitchen towel, then heat it over medium heat on the stovetop until all the moisture evaporates.
Oil
- Pour one teaspoon of oil into the skillet and rub thoroughly all over with a folded paper towel. Carefully flip the pan over, add one teaspoon of oil on the underside and repeat the process, rubbing all over, including the handle. Continue buffing until the pan no longer appears greasy.
Bake
- Preheat the oven to 450 F. Arrange a baking sheet on the center rack to catch any drips of oil that might come off. Place the skillet upside down and bake for 45 minutes to one hour.
Cool
- Turn off the oven and let the pan cool to room temperature. You can take the pan out if you need to or leave it to sit and cool inside the oven.
Also, check out
- How to Soften Brown Sugar
- Toasting Pecans
- Top 5 Steaks for Grilling
- How to Prep Cook and Store Fresh Basil
- How to make heavy crea
- ZUCCHINI CARAMELIZED ONION QUICHE

- Zucchini and Squash Ricotta Pasta Casserole Recipe
- Zesty Grapefruit Quinoa Salad: A Bright and Refreshing Delight
- ZESTY CUBAN SANDWICH
- Yogurt Fruit Salad
- WINTER HARVEST PASTA RECIPE


This article originally appeared on Food Drink Life.