Better Than Nellie & Joe’s Key Lime Pie
This post may contain affiliate links that won’t change your price but will share some commission.
Perfect Nellie & Joe’s Key Lime Pie: Tangy, Creamy, and Irresistible.
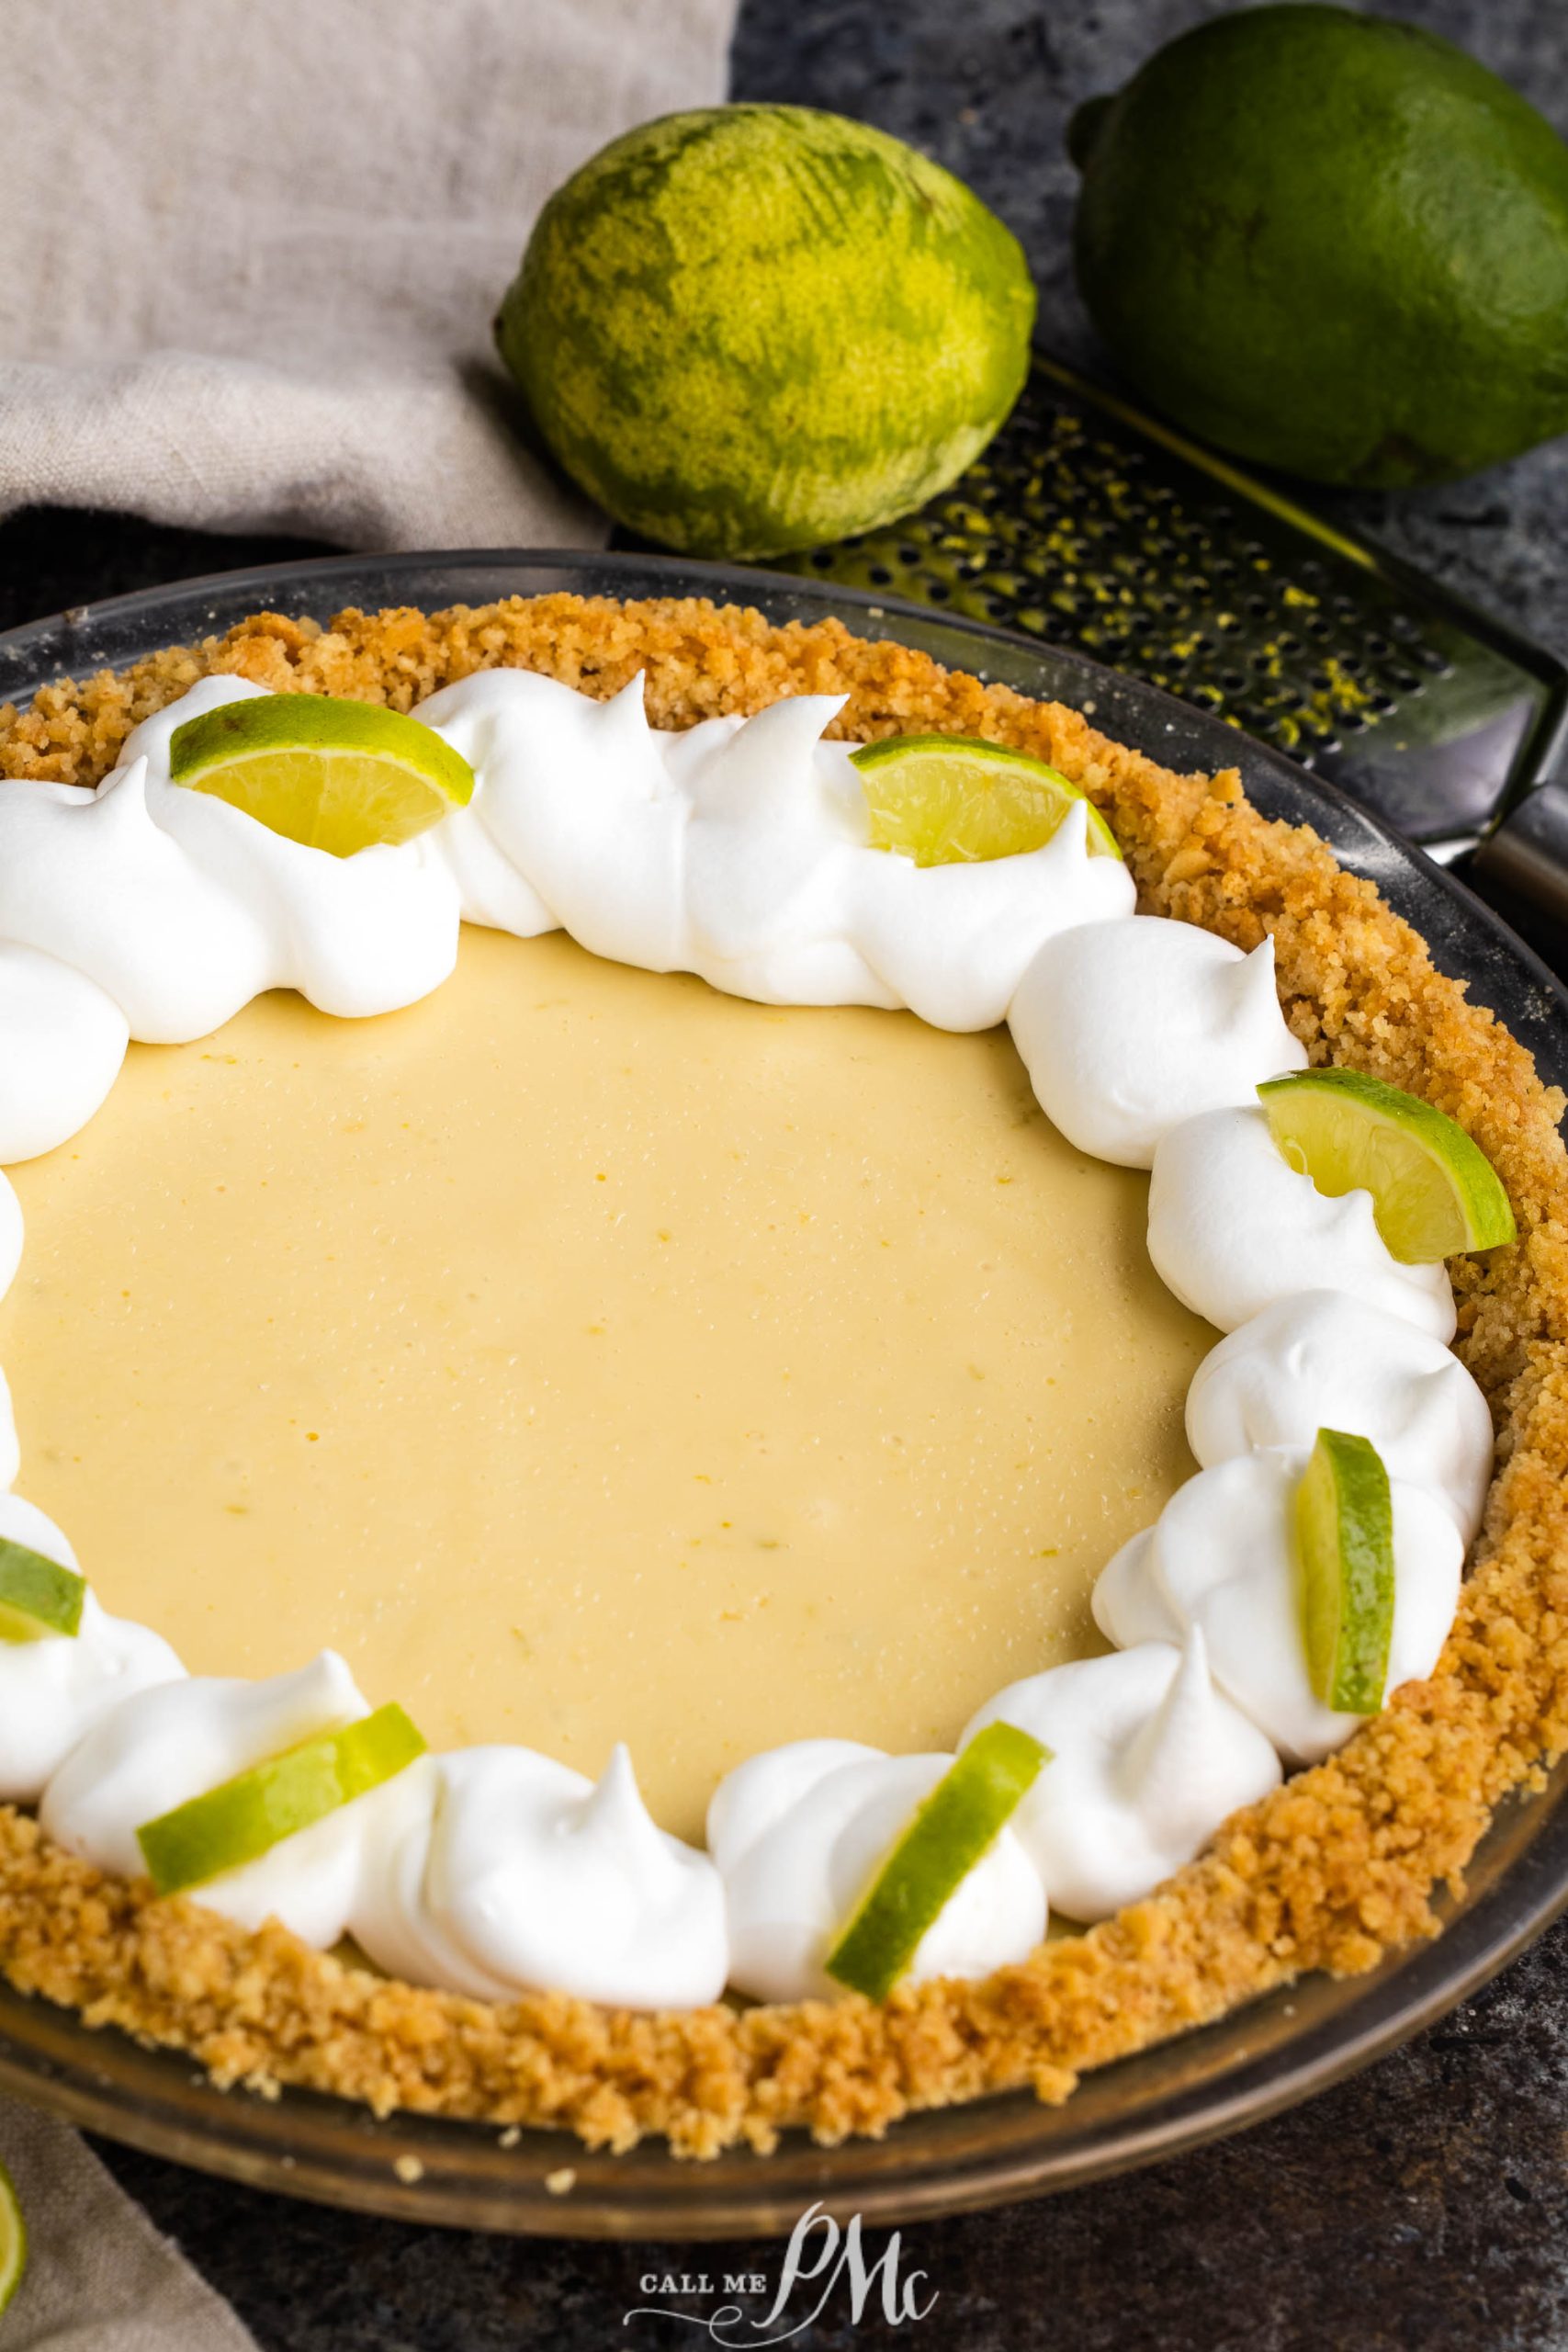
Key Lime Pie is a dessert that combines the perfect balance of sweet and tangy flavors. The filling has a smooth and creamy texture, with a refreshing tartness from the key lime juice. When paired with a vanilla wafer crust, each bite offers a delightful contrast between the zesty filling and the sweet, crumbly crust.

Nellie & Joe’s Key Lime Pie
PMc says:
Key Lime Pie and Lemon Icebox Pie have long been a favorite. That love for key lime pie was renewed and invigorated recently on a visit to Key West. I tested Key Lime Pies at restaurants all over the island and wrote about my experience: 6 Best Key Lime Pies in Key West.
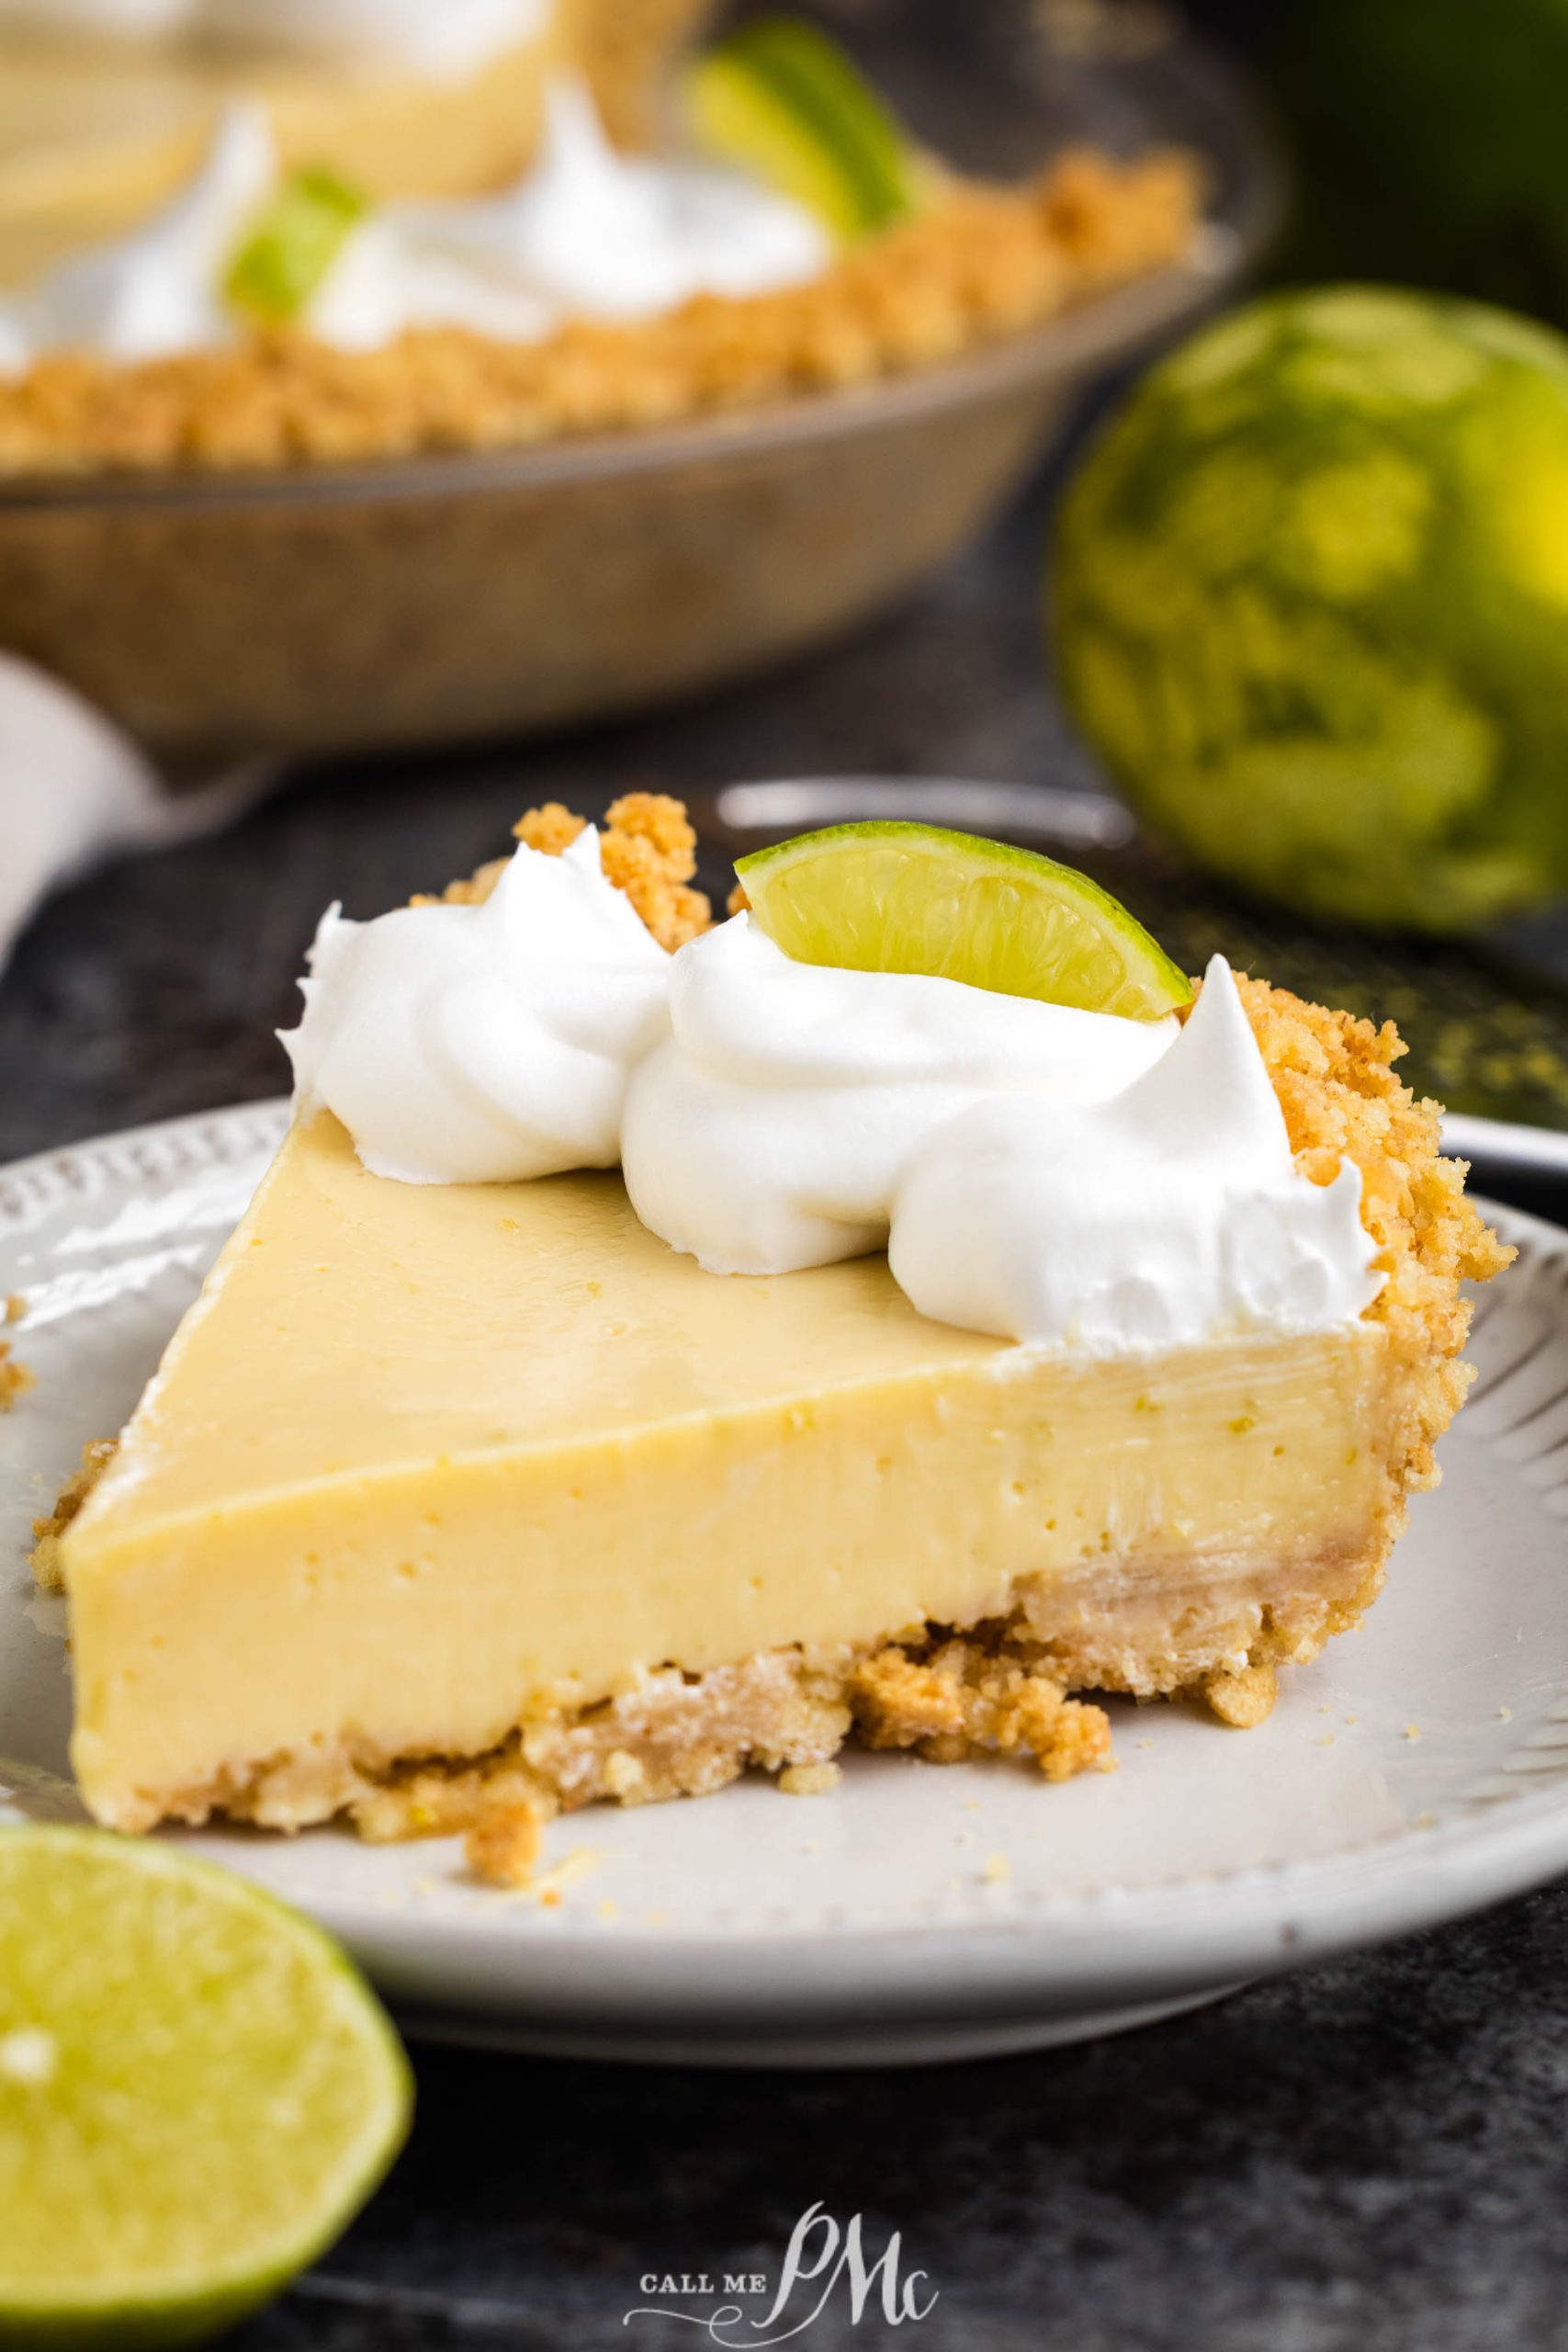
I started with the basic Nellie & Joe’s Key Lime Pie recipe. Then, I tested and tweaked it several times before deciding this is the perfect mix of ingredients. This one is creamy and light, not thick, with a strong lime flavor. I also made my favorite vanilla wafer crust, which I prefer over a graham cracker crust.
I also need you to try my Key Lime Pie Sheet Cake.
Who is Nellie & Joe?
Nellie & Joe is the brand of lime juice that I use in the pie. It’s the only lime juice you’ll want to use. It is that good!
Equipment
Ingredients
The full recipe with ingredient amounts and instructions is at the bottom of this post. You can save a tree and the recipe to your personal and private recipe box here on Call Me PMc. This way, you’ll never misplace it.
- Nilla wafers crushed
- butter
- sweetened condensed milk
- egg yolks, whites not used unless you want to make meringue
- Nellie & Joe’s Key West Lime Juice *key ingredient, no substitute
- evaporated milk or heavy cream
- lime zest
How long to refrigerate key lime pie
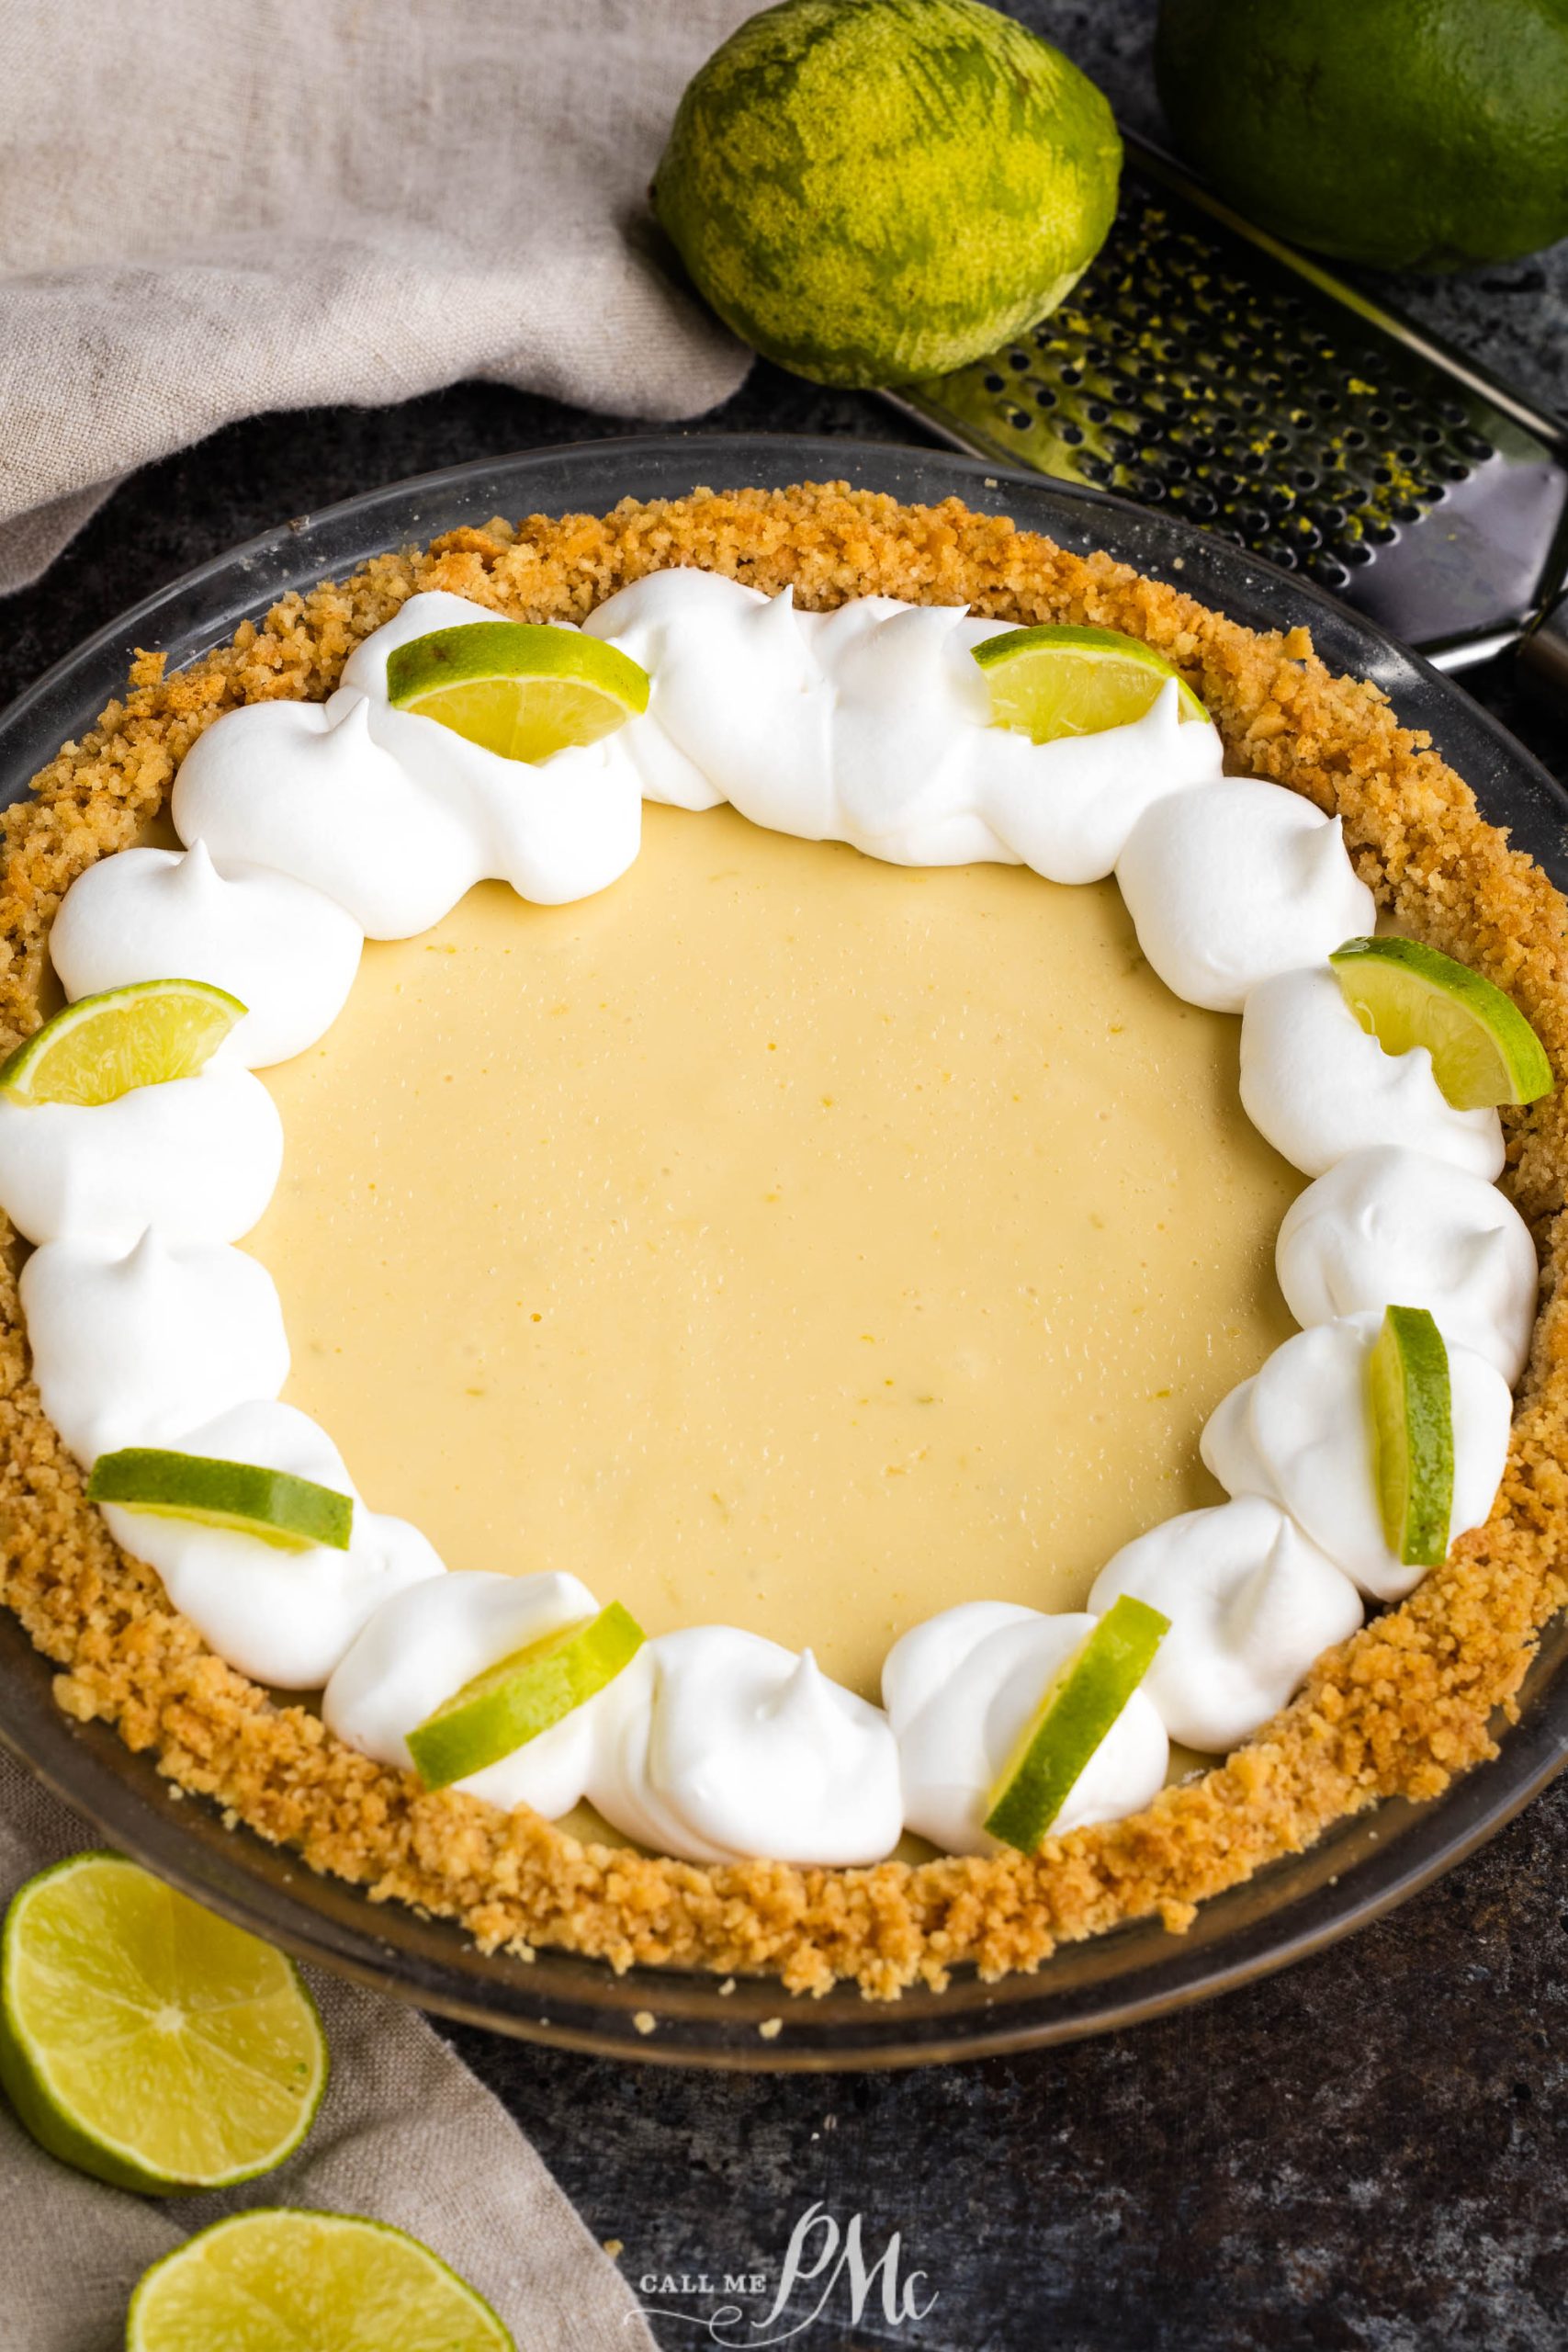
Key lime pie should be refrigerated for at least 3 hours and up to three days before serving. It tastes best chilled, and cooling it completely before serving allows for a cleanly cut slice.
Cooking Tips for a Perfect Key Lime Pie
- Use Fresh Lime Zest: While Nellie & Joe’s key lime juice is essential, adding fresh lime zest enhances the flavor and gives the pie a vibrant taste. Zesting the lime directly before adding it ensures the best flavor.
- The Limes: You can use regular limes for the zest if you can’t find key limes.
- Watch the Zest: When zesting your limes, be careful not to include the bitter white pith. The zest adds an extra layer of lime flavor without overpowering the pie.
- Don’t Overbake: Key Lime Pie doesn’t require a long bake time. In fact, you’re only baking it to ensure the eggs are cooked. Bake until the filling is just set but still slightly jiggly in the center. Overbaking can cause the pie to crack.
- Chill Before Serving: After baking, allow the pie to cool completely, then refrigerate it for at least three hours. This will help the pie firm up, enhance the flavors, and make it easier to slice.
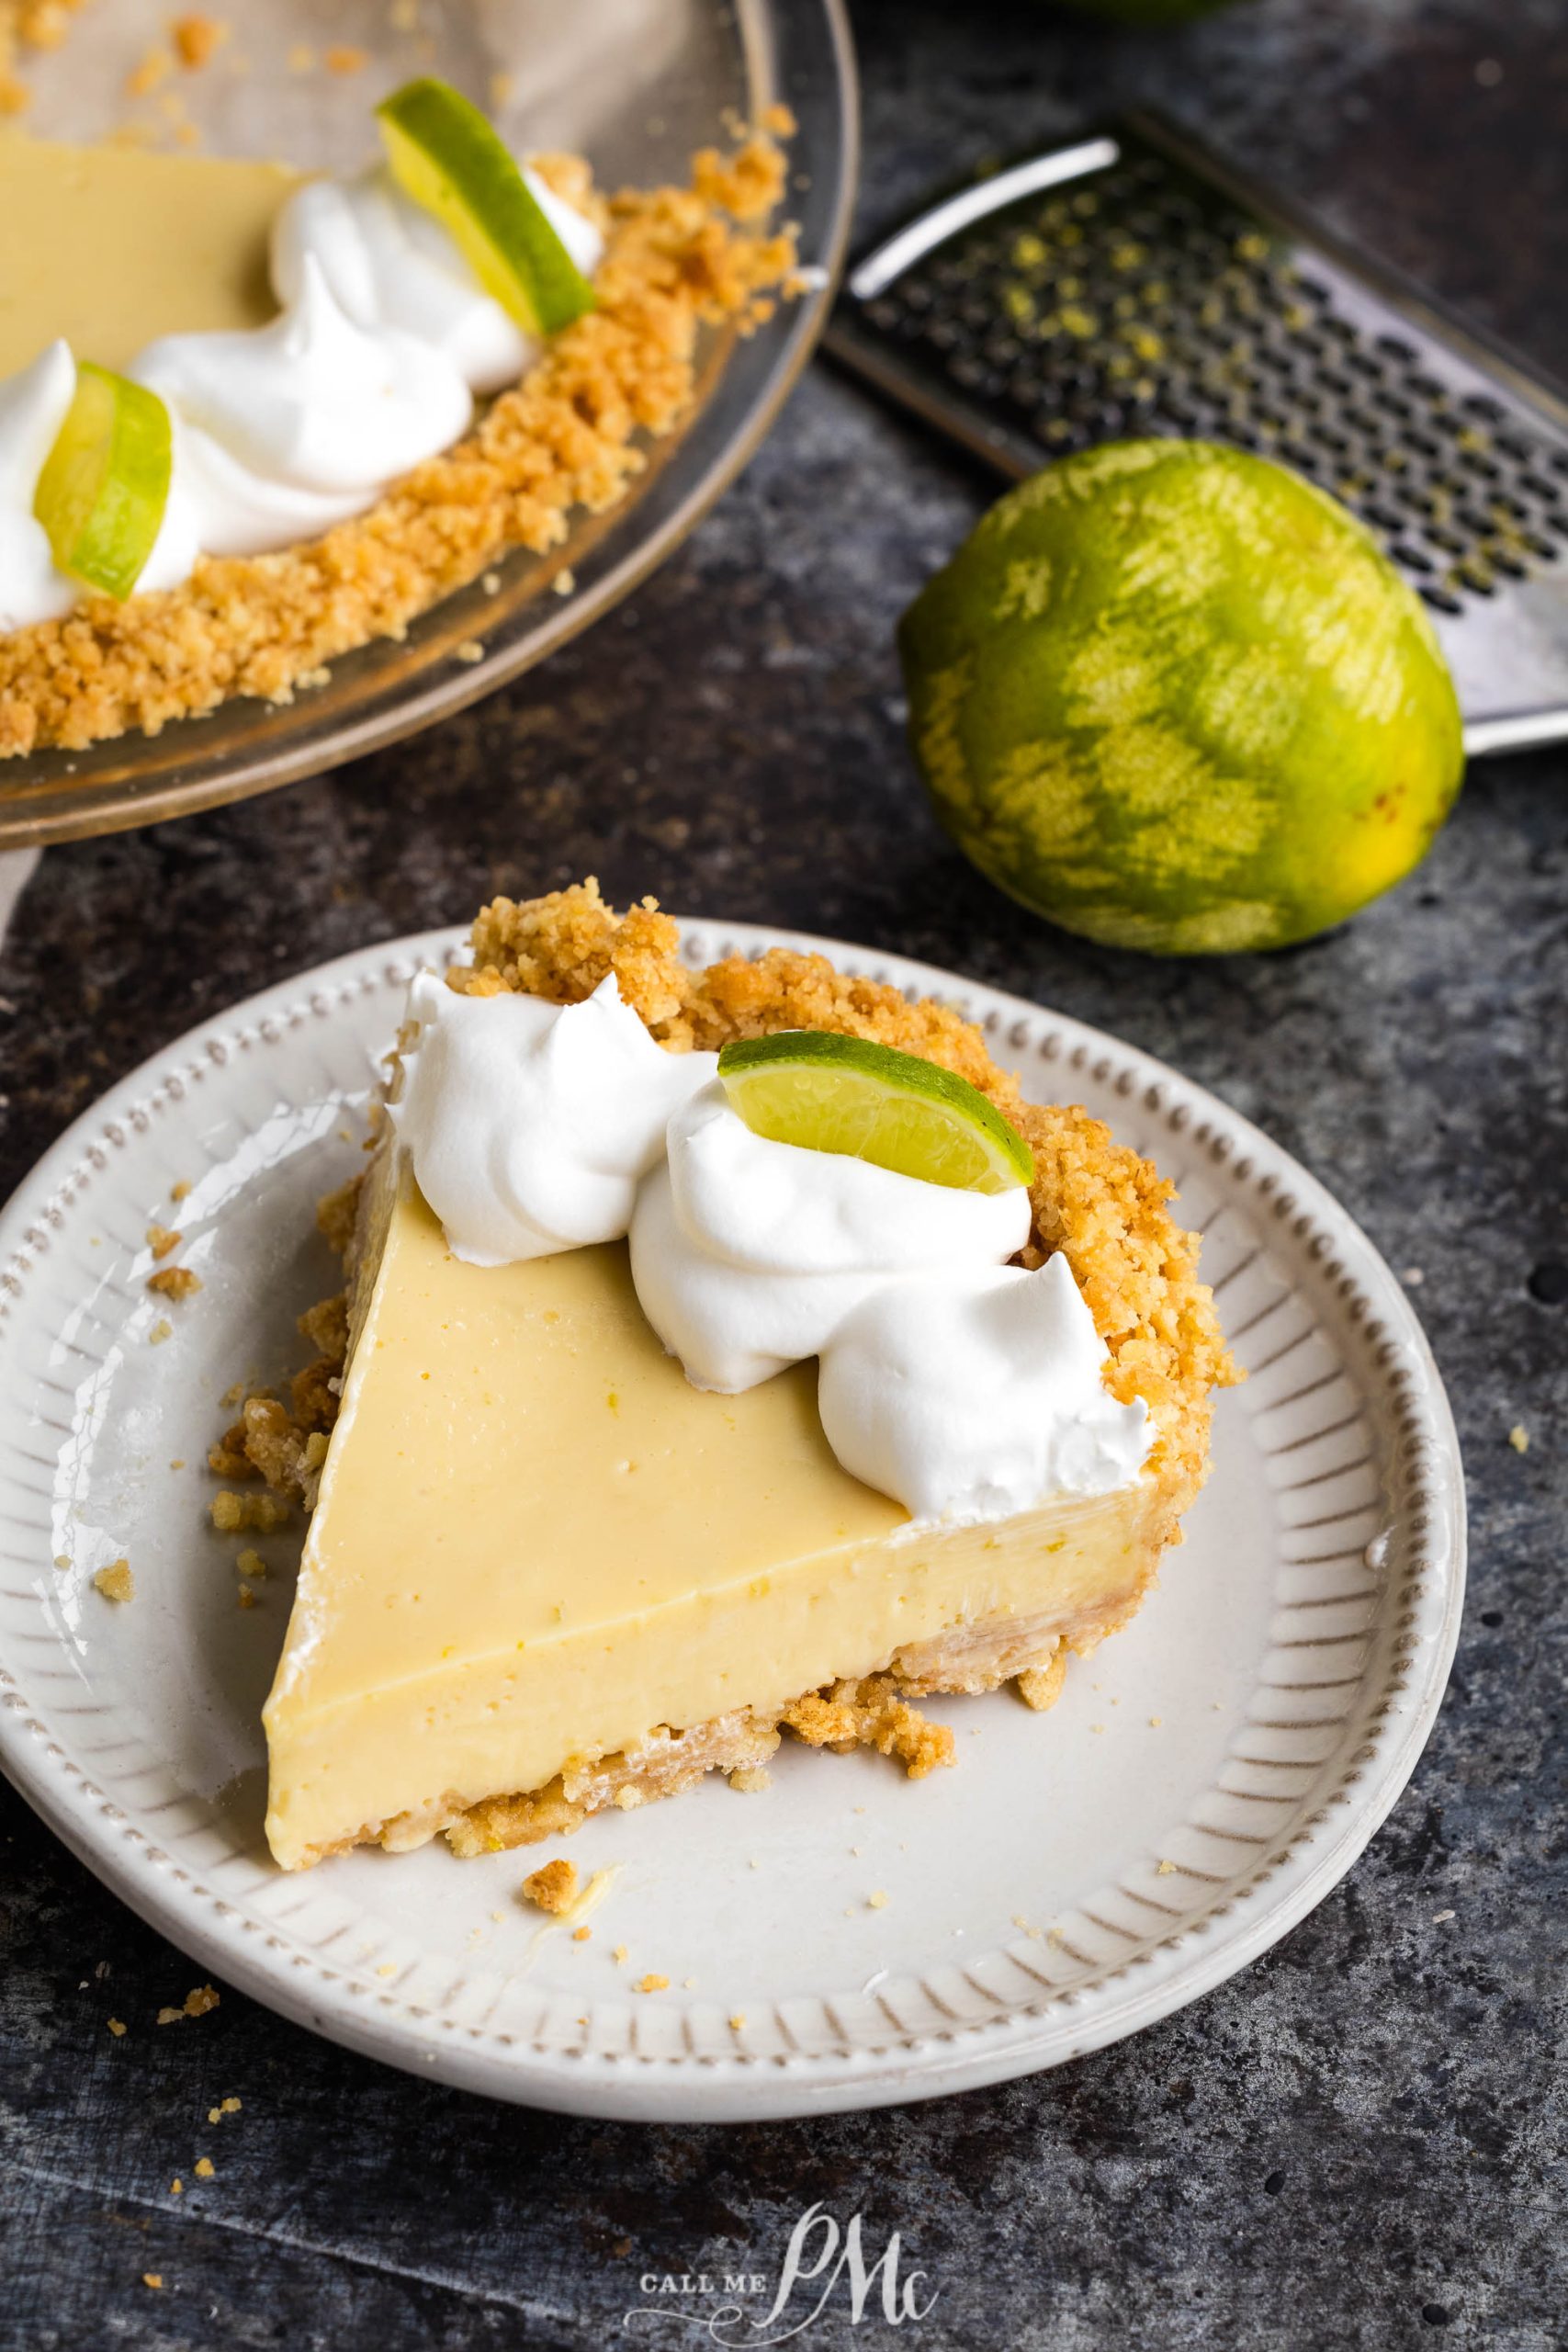
- Whipped Cream: I recommend serving key lime pie with a dollup of whipped cream or Cool Whip. It makes a wonderful contrast to the tangy limes.
- Garnish: A simple dollop of whipped cream on top of each slice can add a touch of sweetness that complements the tart filling. You can also add a thin slice of lime for an extra pop of color.
Key Lime Pie FAQ
Q: Can I use regular limes instead of key limes?
A: Yes, you can use regular limes if key limes aren’t available. The flavor will be slightly different, but it will still be delicious. Key limes have a more intense, aromatic flavor, so if you can find them, they’re worth using.
Q: How long will Key Lime Pie last in the fridge?
A: Key Lime Pie will keep in the refrigerator for up to 3 days. To prevent it from drying out, cover it with plastic wrap or foil.
Q: Can I freeze Key Lime Pie?
A: Yes, Key Lime Pie can be frozen. To protect it from freezer burn, wrap it tightly in plastic wrap and then aluminum foil. It can be stored in the freezer for up to 2 months. Thaw in the refrigerator before serving.
Q: Is Key Lime Pie gluten-free?
A: It depends on the crust. If you use a gluten-free crust, Key Lime Pie can be gluten-free. Otherwise, traditional pie crusts and wafer crusts contain gluten.
Conclusion
Key Lime Pie is a classic dessert that never fails to impress. Its unique combination of tart and sweet flavors makes it a refreshing treat, especially during warmer months. With the right ingredients and a few simple tips, you can make a Key Lime Pie that’s sure to please any crowd. Whether you’re an experienced baker or a beginner, this pie is straightforward to make and always delivers on flavor.
Bonus! More favorite recipes at your fingertips!
- Key Lime Cake with Key Lime Cream Cheese Frosting
- Scratch Made Key Lime Pound Cake Recipe with Key Lime Glaze
- PostCopy link
- KEY LIME COCONUT MARBLED POUND CAKE
- The 6 Best Key Lime Pies in Key West Florida
- The Best Cream Cheese Frosting
Better Than Nellie & Joe’s Key Lime Pie
Items in blue & underlined below can be clicked for more detail or to purchase.
Ingredients
vanilla wafer pie crust*
- 1 and ½ cups Nilla wafers crushed
- 6 tablespoons butter melted
key lime pie
- 14 oz. sweetened condensed milk
- 3 large egg yolks at room temperature, whites not used
- 3.5 ounces Nellie & Joe’s Key West Lime Juice *key ingredient, no substitute
- ¼ cup evaporated milk or heavy cream
- 2 teaspoons lime zest
Instructions
vanilla wafer pie crust
- Pulse vanilla wafers in a food processor to fine crumbs. After you've crushed them, measure 1 and 1/2 cups of the crumbs. I start with 2 cups of whole wafers, then add a little if I need to. (If you don't have a food processor, put the wafers in a plastic zip-top bag and pound them with a meat mallet or rolling pin.)
- Melt the butter in a microwave-safe bowl. Pour the crushed wafers into the bowl with melted butter and stir with a fork until all the crushed wafers are coated with butter.
- Pour the mixture into your pie plate. Using the bottom of a flat glass, tap and press the crumbs into the pie plate's bottom and sides. You'll want to compact them enough that they stay together.
- Place the crust in the oven for 10 minutes as it preheats to 350℉. You're not trying to toast the crust, but this helps to set it and makes it firmer.
key lime pie
- Combine the sweetened condensed milk, room-temperature egg yolks, and evaporated milk in the bowl of a stand mixer. Blend until smooth.
- Add the key lime juice and zest and blend. The mixture will begin to thicken slightly.
- Pour filling into pie crust and bake at 325º for 15 minutes.
- Allow it to cool for at least 10 minutes before refrigerating. If you have time, allow it to cool completely before refrigerating. When you refrigerate, cover it with foil or place it in an airtight container to prevent it from absorbing any refrigerant odor.
- Before serving, top with freshly whipped cream, Cool whip, or meringue and garnish with lime slices.
Notes
- You can use the egg whites to make meringue. I prefer to use Cool Whip.
- *You can use a store-bought vanilla wafer crust or graham cracker crust.
- If you want to make a graham cracker crust, here’s my recipe.
Nutrition
Nutritional information given is an automatic calculation and can vary based on the exact products you use and changes you make to the recipe. If these numbers are important to you, I recommend calculating them yourself.

AWESOME! I live in the Northwoods of Wisconsin and I’m claiming This Key Lime Pie The Best in The Northwoods! Thank you for sharing the recipe and Nellie & Joe’s for the secret ingredient!! All love it!
Why 325 and not 350 like the recipe on the bottle says?
I tested 350 and didn’t like the texture. It wasn’t as creamy and was overcooked in my opinion.