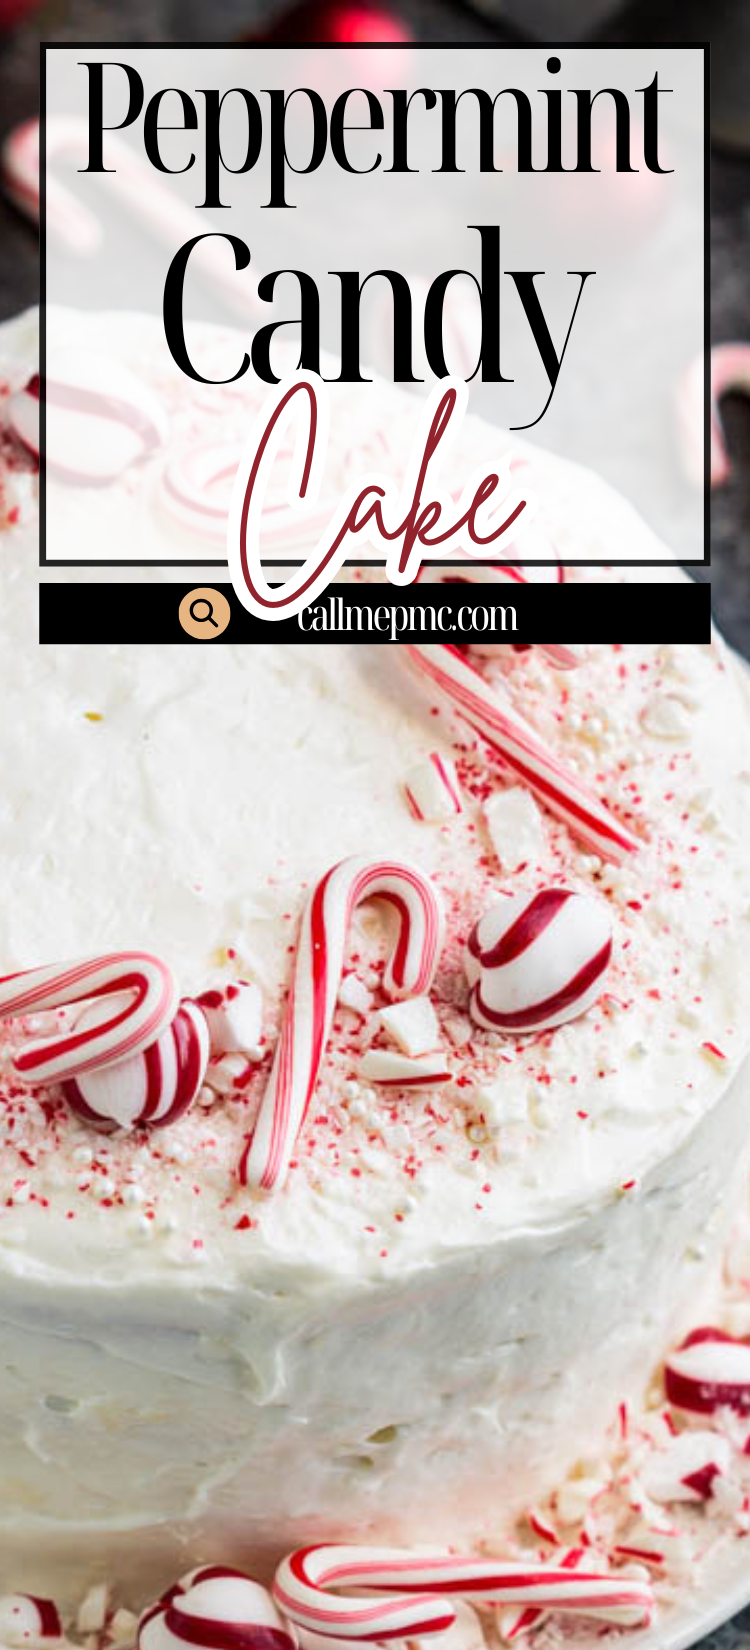
Peppermint Candy Three Layer Cake
This post may contain affiliate links that won’t change your price but will share some commission.

If you’re looking for a show-stopping winter holiday cake, Peppermint Candy Three Layer Cake is the recipe to make. Layers of wonderfully delightful, tender vanilla cake is topped with light peppermint frosting.
The first time I had Peppermint Layer Cake I was in elementary school. My best friend brought a piece to school after the holidays. I thought it was the most unique, best-tasting cake I’d ever put in my mouth.

I was baking at the time, but mostly from a box mix or very simple recipes and didn’t know where to start making up an original recipe.
That recipe stayed on my mind, and years later when I knew my way around the kitchen better, I made my first Peppermint Layer Cake. As I’ve gotten better baking, this recipe has morphed into the one I’m sharing below. After many trials and tweaks, I think I finally hit it spot-on with this recipe.

Peppermint Candy Three Layer Cake
This cake is wonderfully moist with a fine, tender crumb. It’s lightly flavored with peppermint and isn’t a ‘loud’ overpowering flavor. The icing is rich, yet light. It’s sweet, but not overly sweet.
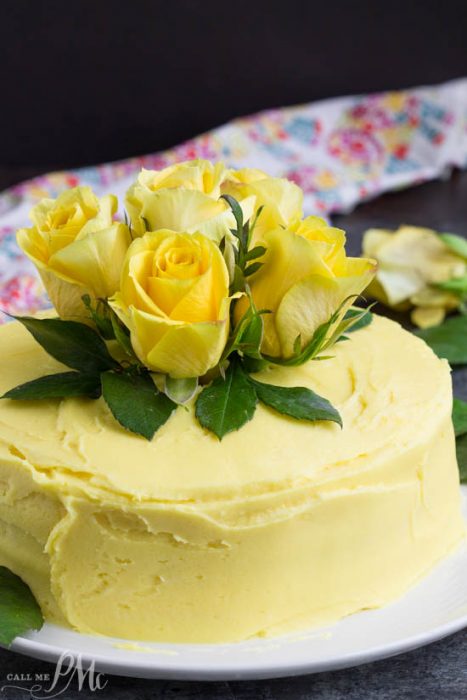
I recommend using clear vanilla so that your white. Traditional vanilla extract can change the color of your cake slightly.
Additionally, using just egg whites will ensure the cake is white. You can use whole eggs, but your layers will be yellow from the yolks.
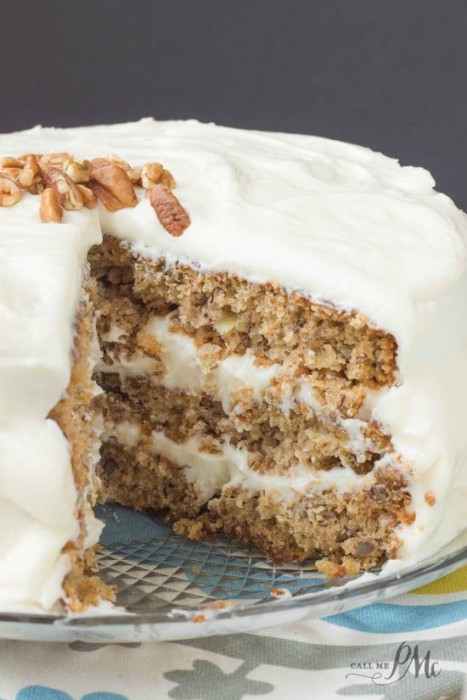
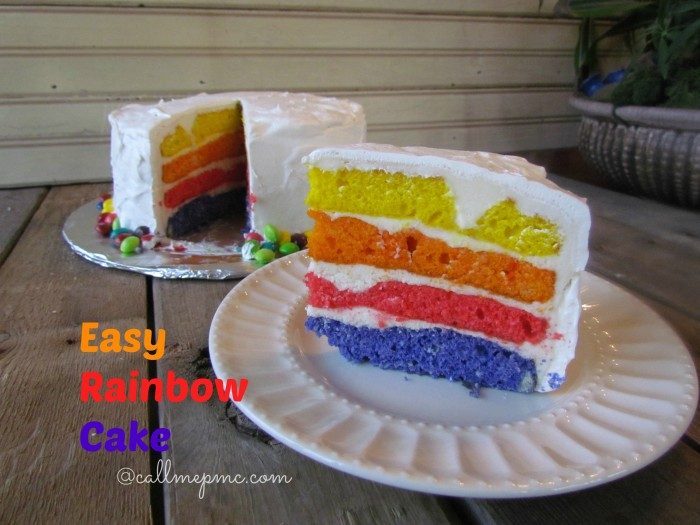
More layer cakes you may like
Would you like to save this?

Shop this post
Peppermint Candy Three Layer Cake Recipe Notes
Store the cake in an airtight container in the refrigerator for up to four days.
To make a 9×13 cake: Spray a 9×13 can pan with nonstick cooking spray. Pour the cake batter into the cake pan and bake at 350°F for 30- 35 minutes or until a toothpick inserted into the center comes out clean or with dry crumbs.
Best
Freezing instructions: You may freeze the cake for up to 3 months, thaw overnight in the refrigerator, then bring to room temperature. The frosting will also freeze for up to three months, thaw overnight in the refrigerator, then bring to room temperature and mix well before frosting the cake.

Flour: You can use cake flour for this recipe. I highly recommend you sift the flour 1 or 2 times for this recipe.
To assemble the cake, place one of the layers on a cake stand, top with a layer of frosting, and smooth it out into one even layer. Repeat with the second layer. Place the third layer on top, then use the Cream Cheese Cool Whip Frosting to frost the top and sides of the cake. Decorate.

More recipes you’ll enjoy!
- Chocolate Peppermint Chip Cookies Recipe
- PEPPERMINT FUDGE (no chocolate)
- Chocolate Peppermint Dessert Dip
- Peppermint White Chocolate Chip Red Velvet Brownies
- Chocolate Peppermint Sheet Cake
- PEPPERMINT WHITE CHOCOLATE CHIP COOKIE

Peppermint Candy Three Layer Cake
Items in blue & underlined below can be clicked for more detail or to purchase.
Equipment


Ingredients
For the Cake
- 2 and ¾ cups cake flour sifted then measured, spooned & leveled
- 1 tablespoon baking powder
- ¾ teaspoon salt
- 1 cup buttermilk at room temperature
- 1 teaspoon clear vanilla extract
- 1 teaspoon peppermint extract
- 1 and ¾ cups granulated sugar
- 1 cup butter at room temperature
- 5 large egg whites at room temperature
For the Frosting
- ½ cup butter salted or unsalted, no substitutions
- 8 ounces cream cheese at room temperature
- 3 and ½ cups powdered sugar (aka confectioners) sifted then measured
- 1 to 2 tablespoons heavy whipping cream or whole milk
- 1 teaspoon clear vanilla extract
- 8 ounces Cool Whip
- 4 or 5 candy canes or hard peppermint sticks, crushed
- *optional assortment of peppermint candy for decorations
Instructions
To make the white cake:
- Preheat oven to 350°F. Spray two 9-inch cake pans or 3 8-inch cake pans with nonstick cooking spray or coat with solid vegetable shortening.
- In a large mixing bowl, whisk together the cake flour, baking powder, and salt.
- In a measuring cup, combine the buttermilk, vanilla, and peppermint extract. Stir until well combined.
- In the bowl of a stand mixer fitted with the paddle attachment cream together the butter and sugar for about 4-5 minutes or until light and fluffy.
- Add the dry ingredients to the creamed butter and sugar in three additions, alternating with the buttermilk mixture beginning and ending with the dry ingredients on low speed. Mix in each addition until just combined, making sure not to overmix the batter.
- In a separate clean mixing bowl, beat the egg whites to stiff peaks. Gently fold half of the egg whites into the batter, then fold in the remaining ones until just combined.
- Pour the cake batter into the prepared cake pans and spread evenly.
- Bake at 350°F for 27-30 minutes (9-inch pans) or 25 to 27 minutes (8-inch pans) or until a toothpick inserted into the center of the cakes comes out clean or with dry crumbs.
- Remove from the oven and allow to cool in the pan for about 20 minutes, then remove the cakes from the pans and transfer to a wire rack to cool completely.
For the Frosting
- In the bowl of a stand mixer fitted with the paddle attachment cream together the butter and cream cheese until smooth.
- With the mixer on low, slowly add the sugar. Add vanilla and milk. Mix until smooth. Stir the crushed peppermint into the mixture by hand.
- Divide the Cream Cheese Frosting into two equal parts. Fold in 8 ounces of Cool Whip into 1/2 of the frosting.
- You will frost BETWEEN the layers with the cream cheese frosting with peppermint.
- Frost the OUTSIDE of the cake with the cream cheese frosting with the Cool Whip added.
- Wait until the cake is completely cool before frosting. For a more professional cake, remove the domes from the tops of the cake layers with a cake leveler or large serrated knife. Place one layer of cake on a serving plate. Spread about 1 cup of the CREAM CHEESE frosting on top in an even layer. Repeat with the next cake layer and frosting, then top the cake with the final layer (if you have 3 layers). Frost the outside of the cake with the COOL WHIP FROSTING. An offset spatula makes it really easy to get an even layer.
- Decorate the cake with candy canes and peppermint. Keep refrigerated.
Nutrition

This cake s fabulous. I’m a pro baker and made this for a small dinner party, using the recipe to get three 6-inch layers for a taller cake. There is a discrepancy in the type of flour: the ingredients call for all-purpose flour while the directions mention cake flour. I used cake flour and the layers were cloud-light. I upped the peppermint extract to 1.5 teaspoons because the batter flavor seems a bit elusive; it was perfect with Swiss meringue buttercream flavored with pulverized peppermint candies.
Oh, thanks for mentioning the discrepancy, I’ll correct that. I’m happy you enjoyed the cake.
Can I skip egg white process and just add 5 eggs into batter?
It won’t be as fluffy.
This will be a sure hit for Christmas! Such an amazing dessert!
Such a pretty cake! perfect for the holidays and all winter!